
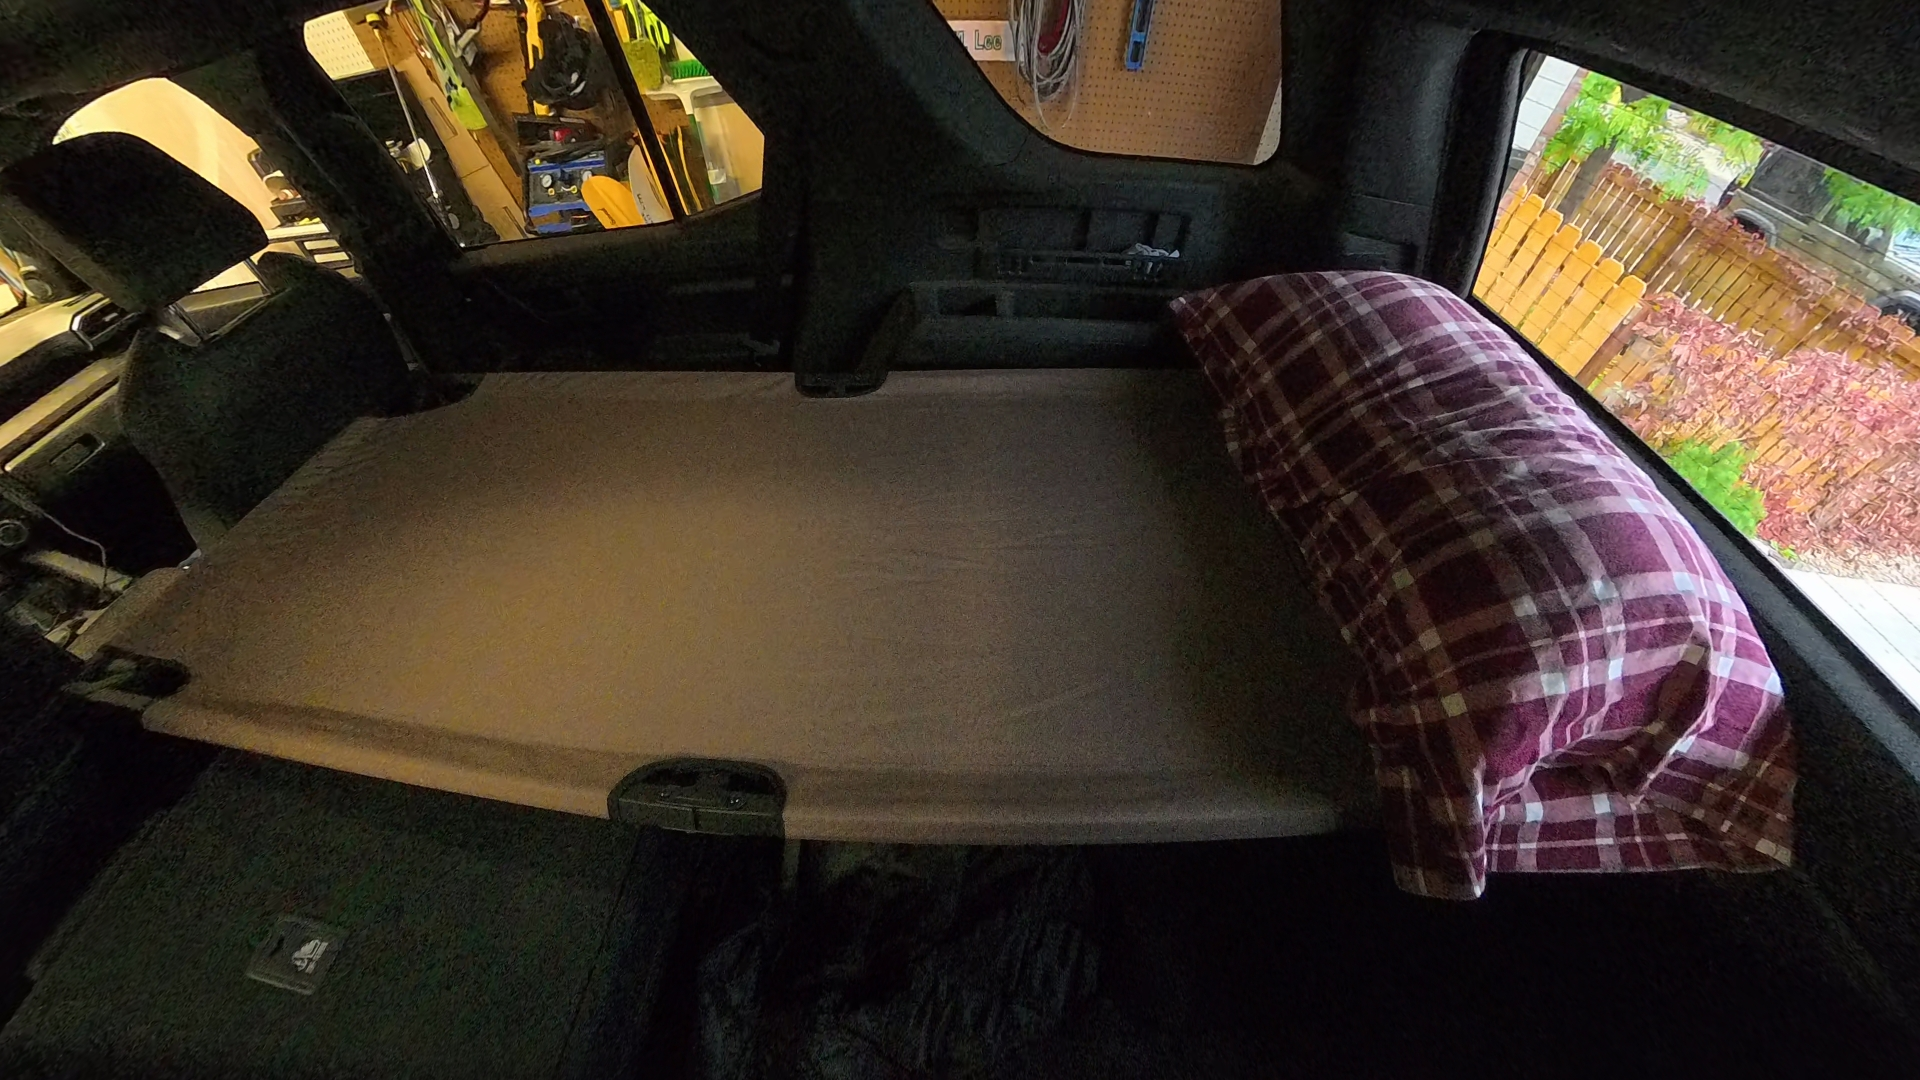
I’ve been exploring ways to set up our Toyota 4Runner for camping and sleeping in the back. The rear seats don’t remove easily, and when folded forward, they don’t create a flat surface long enough to sleep comfortably. One simple solution, shown in this video, is to use a camp cot that fits inside the 4Runner and straddles over the folded seats.
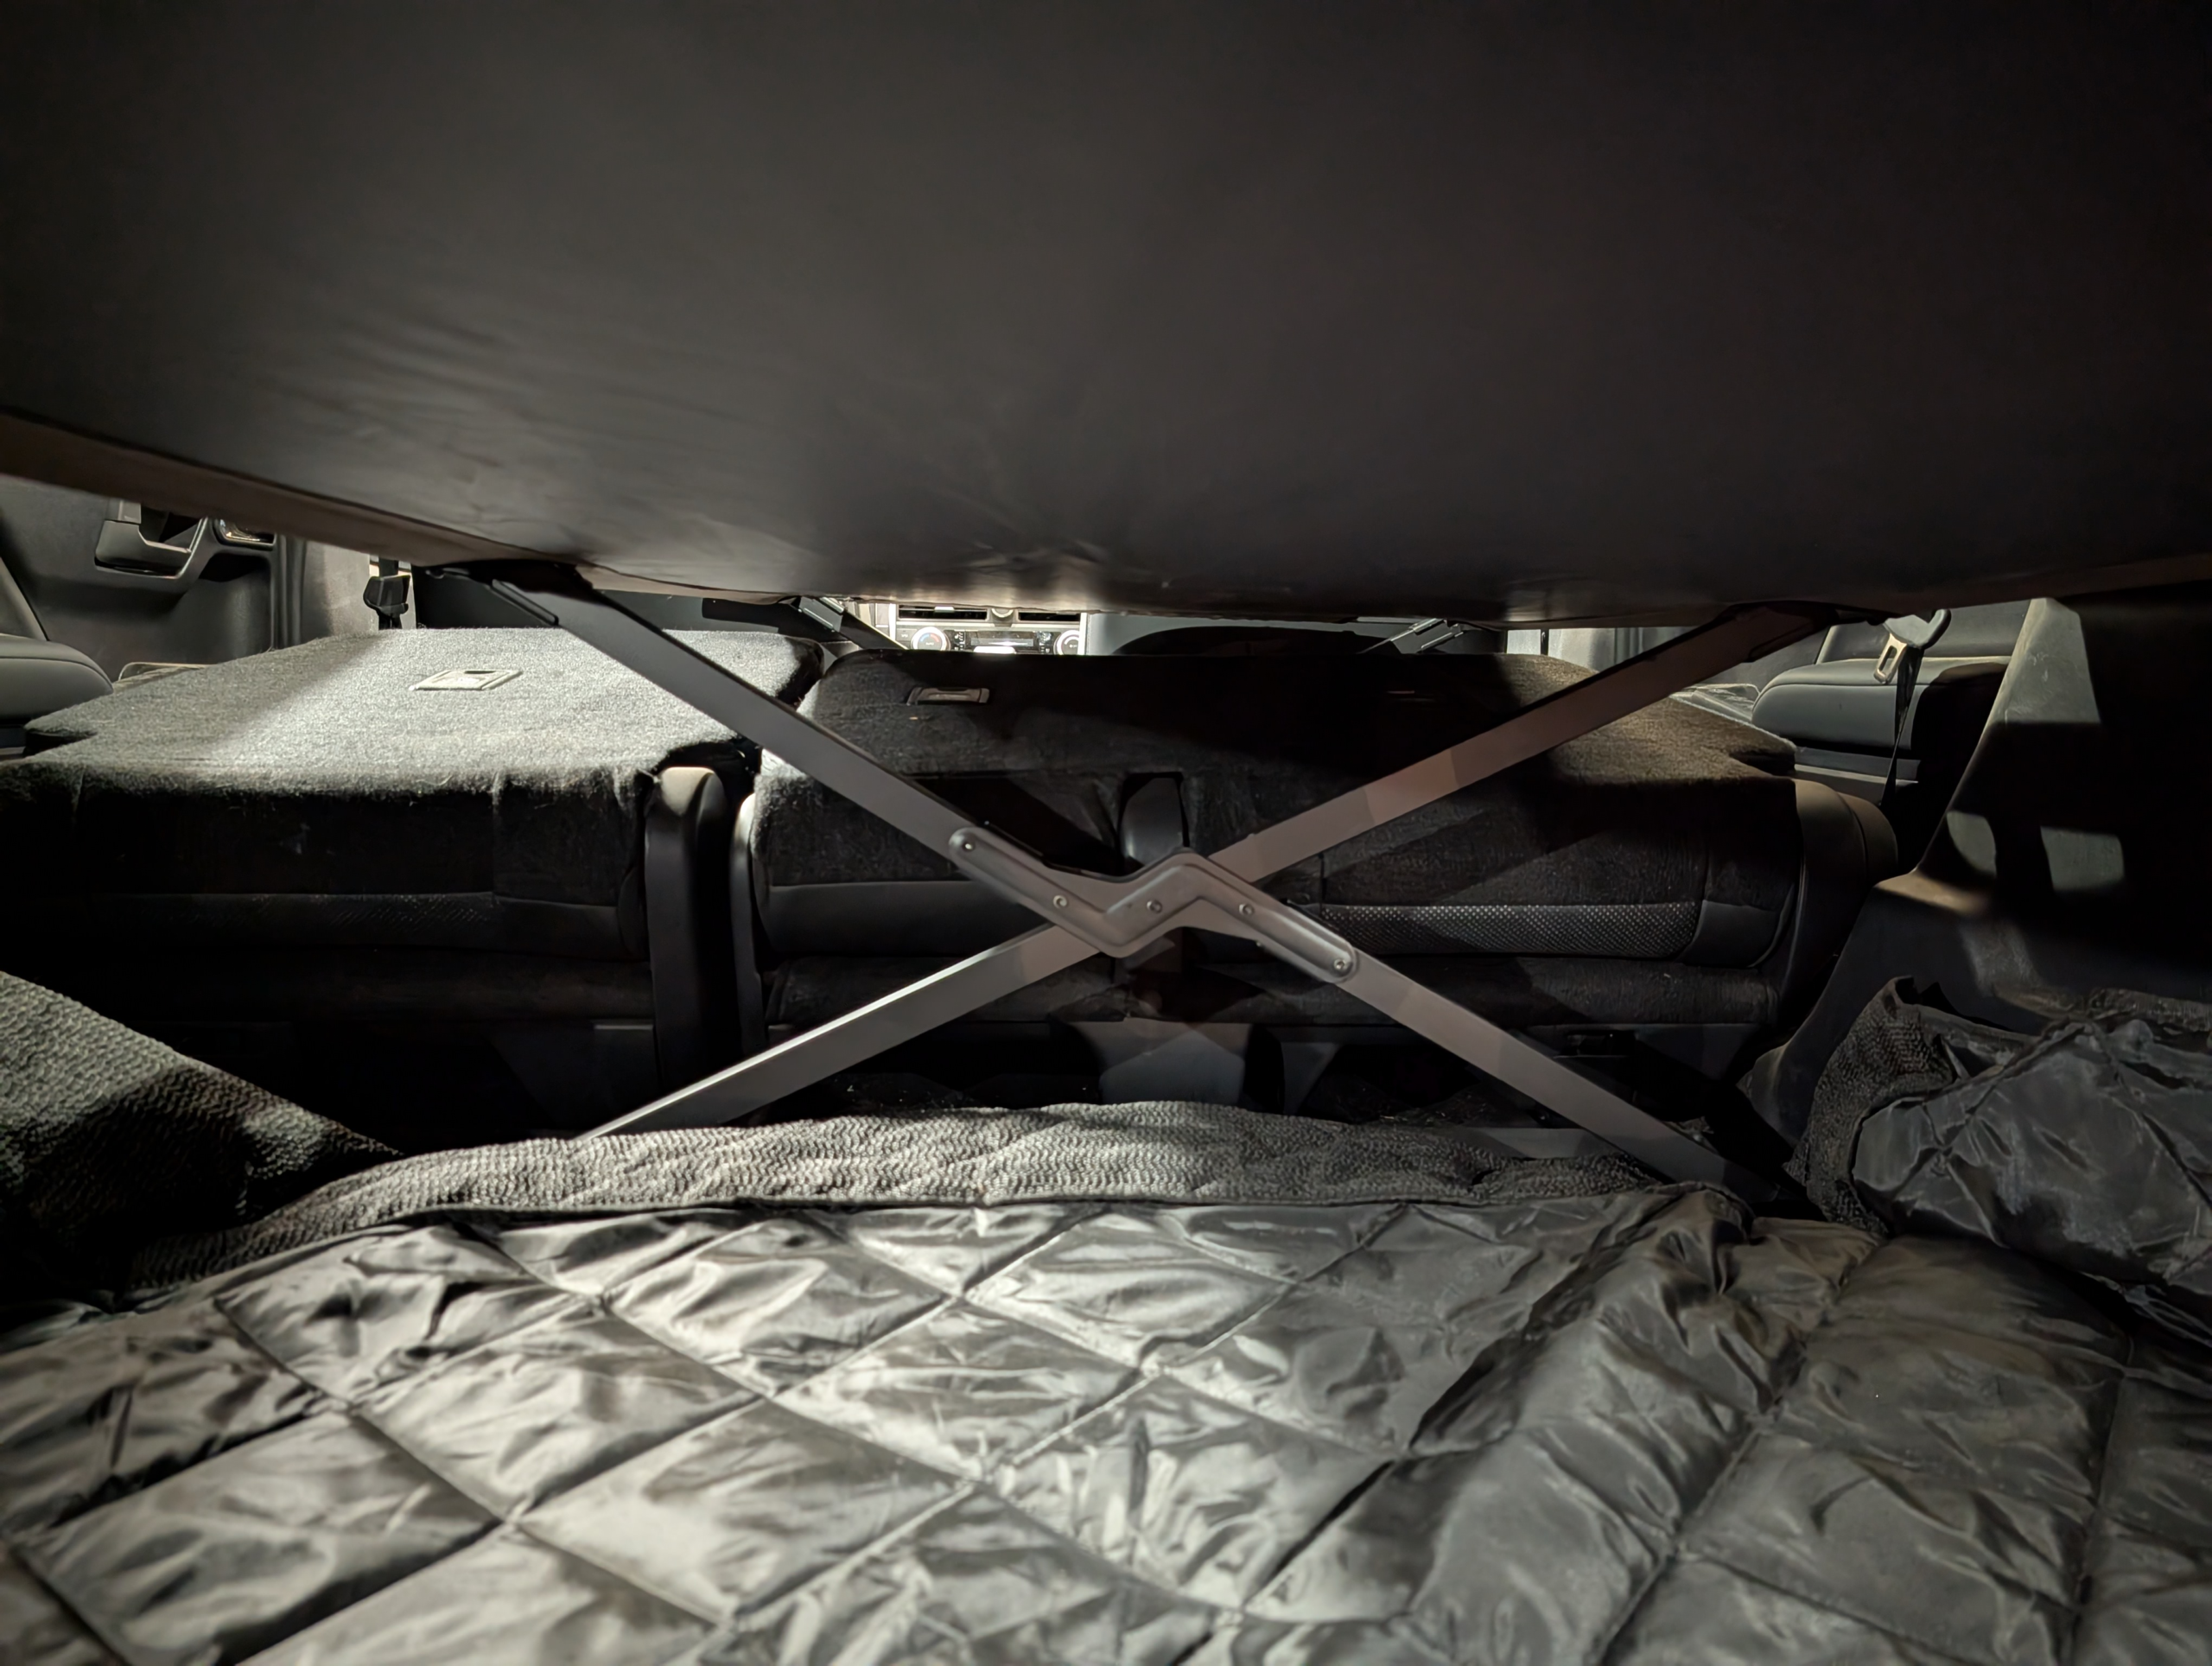
For this test, I used a Coleman Trailhead II cot. It weighs 21.5 pounds and packs down to 8” x 5” x 40” in its carrying case. When assembled, it measures 73” long, 35” wide, and 17” tall. To keep the cot level, I placed 6” blocks under the front legs between the front seats and the folded rear seat.
This 4Runner sleeping setup is a great alternative to building a full sleeping platform. The cot is inexpensive, lightweight, compact, and quick to set up, yet much more comfortable than a hard platform. I originally planned a more elaborate build, but this simple car camping cot setup works great as an extra bed for road trips or overlanding.


Additional notes
Amazon link for the cot shown
https://www.amazon.com/dp/B003696236
I own two of these. I got the first one several years ago, its held up well, and is comfortable. I bought the second one as an Amazon “warehouse deal” (“used, like new”). From reading reviews, I think a lot of people buy them and struggle with getting the second bar on and return them, but there are tricks to make this easier if you’re not used to this style cot. First, you can pull down on the fabric before inserting the second cross bar. Second, you can use a lever – a pipe with the right inner diameter would work – if you’re still having trouble. But I never had an issue once I understood how it worked.
Sleeping position
Another point worth mentioning (at least for the cot I use) is that – with this particular cot – I would sleep with my head toward the back. If you sleep with your head toward the front, you might sink low enough in the cot so you can feel the folded backseat that you’re straddling over. This can be mitigate by blocking the feet, but I prefer it the way it is with my head toward the back where I can look out the back window.
The wood leveling blocks
This might seem like too much work for some folks, and super-obvious to other folks (especially if you’ve done any work with lumber). But I thought I’d put it out there anyway in case anyone is thinking about doing this but worrying about how the cot feet are propped up behind the front seat.
I happen to have a lot of wood blocks laying around because they’ve been handy in my life for a variety of things. If you don’t have random wood blocks lying around, you can go to a place that sells lumber (like Home Depot).
If I was starting from scratch, I would pick out an 8 foot 2X6 (I’m using something wider in the pic because that what was lying around) and ask them to cut it into about 10″ lengths. If you do what I did, you’ll need 8 of these blocks. At most places that sell lumber, they’ll have a section where they sell cull lumber (wood that does not meet a lumberyard’s or manufacturer’s grading standards for regular sale). This is great place to find cheap lumber that you plan to just cut into shorter pieces anyway. So, twists in long cuts don’t matter as much, and you can throw away short sections with splits, etc. I do this when I need blocks for trailers, jack stands, etc.
Don’t get treated wood because it will be in your vehicle and stink. If you’re worried about getting splinters (especially if you have kids), sand down the blocks. You can also get thicker wood stock so you’re dealing with less pieces, but this will probably cost a little more, and the pieces will be less versatile for other things.