
Project summary
This axle swap started after a rear pinion failure on the trail forced the issue. The failure occurred on our 2025-11-23 Kelly Flats ride. Once the rear differential came apart, I had a choice between rebuilding what I had or stepping up to a better axle package. I ended up finding a front and rear axle set that made the bigger move worthwhile, so I decided to swap both axles rather than rebuild the damaged rear end and keep the old 4.10 gearing.
What I thought would be a fairly direct project turned into a longer, more casual garage job. A lot of that came down to the usual reality of working on an older Jeep. Every time I got deeper into it, I found another piece of hardware I wanted to replace, another fitment detail I wanted to correct, or another specialty part I needed to order. Between regular life, work, and waiting on parts, this became something I chipped away at as time allowed rather than a quick weekend swap.
The good news is that the axle swap itself is now complete, and the Jeep is back in driving condition. I have already taken it on a few short test drives around the neighborhood, and the lower gears definitely make it feel peppier. I still need to wire the rear Eaton E-Locker properly and change the differential oil and cover hardware, but the major mechanical work is done. I also have a couple of unrelated gremlins to sort out, including an intermittent running light issue, but as far as I can tell those are not caused by the axle swap. For now, the plan is to keep driving it around town, keep an eye on everything, and make sure no other issues show up before I take it back out on the trail. After that, I may eventually move from 35-inch tires to 37s, but there is no rush.
Why I did the swap
This all started with a rear pinion failure on the trail. The pinion break triggered a larger failure inside the rear differential, and once I saw the damage it was clear I was looking at either a full rebuild or a more significant upgrade. I found a used axle set that looked like a solid step up from what I had, and that pushed me toward doing both axles at once.
My original setup was 4.10 gears. I would not have intentionally jumped straight from 4.10s to 5.38s on 35-inch tires, but this axle set was already built, already geared, and priced well enough to justify the move. It also keeps the door open for 37s later if I decide to go that direction. For now, though, I plan to run the 35-inch BFGoodrich KM3s and see how the Jeep behaves in real use before making any larger tire decisions.
My TJ has the 4.0L inline-six and the 32RH automatic, so I had already spent time thinking about engine speed and usable RPM with both 35s and 37s. I knew 5.38s would push cruising RPM higher than I had been used to with 4.10s, but I also expected the Jeep to feel stronger around town and at lower speeds. That has been my early impression so far.
The replacement axles
The replacement axle set is geared to 5.38 front and rear. The front axle includes RCV shafts and a factory locker. The rear axle includes chromoly shafts and an Eaton E-Locker. The set also came with front trusses and gussets, upgraded brakes, and Poison Spyder differential covers. The seller had pulled them from another TJ build that was being upgraded further, so these were not stock take-outs. They were already set up for harder use.
One detail that mattered later was the pinion yokes. The axles had been advertised as having 1350 yokes, but once I started measuring more carefully they appeared to be 1330 yokes instead. That ended up being important when I worked through the rear driveshaft and U-joint details.
Rear axle removal and installation
Once I committed to the swap, I started by getting the rear of the Jeep stripped down and ready to come out cleanly. I pulled the rear wheels and tires so I could reuse them on the replacement axle for now, and I removed and cleaned my 1.25-inch Spidertrax wheel spacers so they could go back on the new hubs. I also replaced the rear bump stops and ordered Rancho 5000X shocks for both the front and rear. My first shock order arrived wrong, so that became one of many small delays that stretched the project out.
Before disconnecting anything major, I soaked the usual hardware in penetrating oil. That included control arm bolts, track bar hardware, sway bar hardware, shock hardware, and anything else that looked like it might put up a fight.
I disconnected the rear parking brake cables and found a simple trick that worked well for getting them out of the backing plates. Sliding a 13 mm flare-nut wrench over the cable housing compressed most of the locking tabs evenly and let the ferrule push through the backing plate. A small screwdriver helped with any tabs the wrench did not fully collapse. That is one of those little details that is easy to forget later, so I wanted to include it in this write-up.
I also disconnected the rear brake hydraulic line at the axle junction and capped the open ends. After the old axle was out, I removed the remaining rear hard lines from it and transferred them to the replacement axle because they still looked serviceable. I disconnected the rear track bar at the axle, the axle vent hose, the rear air locker line, and the old rear locker wiring. Since the replacement rear axle uses an Eaton E-Locker instead of the original air locker arrangement, I knew the rear locker wiring would eventually need to change.
For removal, I supported the rear axle with an ATV jack under the differential, removed the lower shock bolts, lowered the axle enough to unload the springs, and pulled the rear coils. From there I disconnected the lower control arms at the axle, then the uppers, lowered the axle farther, and rolled the complete rear assembly out from under the Jeep.
Installing the replacement rear axle was mostly the reverse of removal, but it did not go completely according to plan. When I went to reconnect the rear track bar, I found that the axle-side bracket on the replacement housing was welded at a different angle than the one on my old axle. It looked more like a JKS-style bracket, and because it was welded there was no easy way to make the old track bar geometry work correctly. Rather than forcing a compromise, I ordered an adjustable rear track bar and installed that to match the new bracket.
Once the rear axle was sitting under the Jeep at ride height, the geometry made sense again and I could move on to the driveshaft. I reinstalled the Spidertrax spacers on the new hubs.
Rear driveshaft and yoke details
Because the rear pinion failure put a major shock load through the driveline, I was not comfortable reusing the old rear driveshaft long term even though it did not look obviously damaged. The Jeep already had a slip yoke eliminator on the NP231 transfer case, so the rear shaft setup was a standard TJ-style double-cardan shaft with the CV at the transfer case and a single U-joint at the axle.
As I started measuring and inspecting the old shaft more carefully, I noticed an important detail I had previously overlooked. The shaft itself was built around 1310 joints, but the rear pinion yoke was 1330. That meant the axle end was using a 1310-to-1330 conversion joint rather than a standard 1310. That mismatch is easy to miss until you actually measure the caps and spans instead of assuming everything matches.
With the Jeep sitting at normal ride height on level ground, my yoke-to-yoke rear driveshaft measurement averaged about 16 7/8 inches. I sent the measurements and setup details to Bullhide 4×4 and ordered a Tom Wood’s rear double-cardan shaft for a TJ with slip yoke eliminator, using the X-Spline and XC slip with greaseable joints. For the axle end, I ordered a Spicer 5-134X conversion U-joint so the new shaft would mate correctly to the 1330 rear pinion yoke.
That part of the project went smoothly once the right parts were identified. After the new driveshaft arrived, I installed it and finished torquing the rear axle hardware, including the shocks, control arms, track bar, sway bar, and brake line hardware. At that point the rear swap was mechanically in place, with only fluid service and final cleanup items left for later.
Front axle swap and related fixes
I expected the front axle to be the harder half of the project because of the weight, steering components, and tighter working space. That turned out to be true, but it also gave me the chance to fix a few things that had been on my list anyway.
One of those long-standing issues was front track bar clearance. My existing front track bar had been contacting the front differential cover at full articulation. It only showed up in more extreme suspension movement, so I had lived with it, but since I was already tearing the front end apart I decided this was the right time to address it. I ordered a JKS OGS126 adjustable front track bar, which also gave me a stronger and more confidence-inspiring setup than what I had before.
That front track bar change also led me into another small but important fix. I needed a proper flag nut that was missing from the old assembly. A previous owner had fabricated something in its place, and I did not trust it enough to put it back together that way. Like several other parts on this swap, it was not something I could just grab from the shelf locally, so it became another online order and another reason this project stretched out over time.
I kept the front drag link and tie rod, but while they were out I replaced the rubber boot covers with new JKS boots. I also replaced the front driveshaft U-joint even though the old one was probably still usable. My thinking on a lot of these smaller items was simple: if I already had everything apart and the Jeep was sitting in the garage waiting on axle swap work, it made sense to clean up questionable or aging components while access was easy.
As reassembly moved along, I replaced various bolts, cotter pins, and small hardware pieces that had either worn out their welcome or looked too questionable to reuse. That was really the theme of the whole front swap. The major work was straightforward enough, but the project kept expanding, one decision at a time.
Final setup and first driving impressions
Once both axles were installed, I went back through the Jeep and did a full torque check on everything I had touched. I also set the front toe to about 1/8 inch and adjusted the steering wheel. On the first short test drives, it seemed to track well with no obvious pull to either side. I may still get a professional alignment done, but for now it appears close enough to drive and continue evaluating.
The Jeep is back on the road and in driving condition now. I have kept the test drives short and local so far, mostly around the neighborhood, just to make sure everything feels normal and no new issues show up. So far the lower gears definitely make the Jeep feel more responsive than it did before. That part has been encouraging.
I still need to replace the differential oil, install matching differential cover bolts, and wire the rear Eaton E-Locker correctly. The E-Locker will need a new fused power feed, although I may be able to reuse the same switch that used to control the old rear air locker. Those are cleanup items at this point, not reasons the Jeep cannot be driven.
I am also chasing a separate electrical gremlin involving the tail lights and running lights staying on when they should not be. Quick research suggests the headlight switch may be the culprit. The problem temporarily went away after I moved the switch around a bit, which makes that seem plausible, but I still need to troubleshoot it properly. At this point I do not believe that issue is related to the axle swap.
Where it stands now
At this stage, I consider the axle swap complete. The Jeep is driving, the major mechanical work is done, and the remaining items are finishing work rather than core swap work. My plan is to keep putting miles on it around town, recheck everything, and make sure nothing else pops up before I take it back onto the trail.
Longer term, the 5.38 gears also leave me the option of moving to 37-inch tires. I am not in any hurry to do that. For now, I want to enjoy the Jeep in its current form, shake it down properly, and let the axle swap settle in before I make any more major changes.
Current configuration notes
For my own reference later, the Jeep is now running 5.38 gears front and rear, with a front axle that includes RCV shafts and a factory locker, and a rear axle with chromoly shafts and an Eaton E-Locker. The axles have upgraded brakes and Poison Spyder differential covers, and the front housing includes trusses and gussets. The rear now uses an adjustable track bar to match the replacement axle bracket geometry, and the front now uses a JKS OGS126 adjustable track bar. The rear driveshaft is a Tom Wood’s double-cardan shaft for a TJ with slip yoke eliminator, and the axle end uses a Spicer 5-134X 1310-to-1330 conversion U-joint. The Jeep is currently still on 35-inch BFGoodrich KM3s, with 1.25-inch Spidertrax wheel spacers reinstalled. The shocks are Rancho 5000X front and rear.
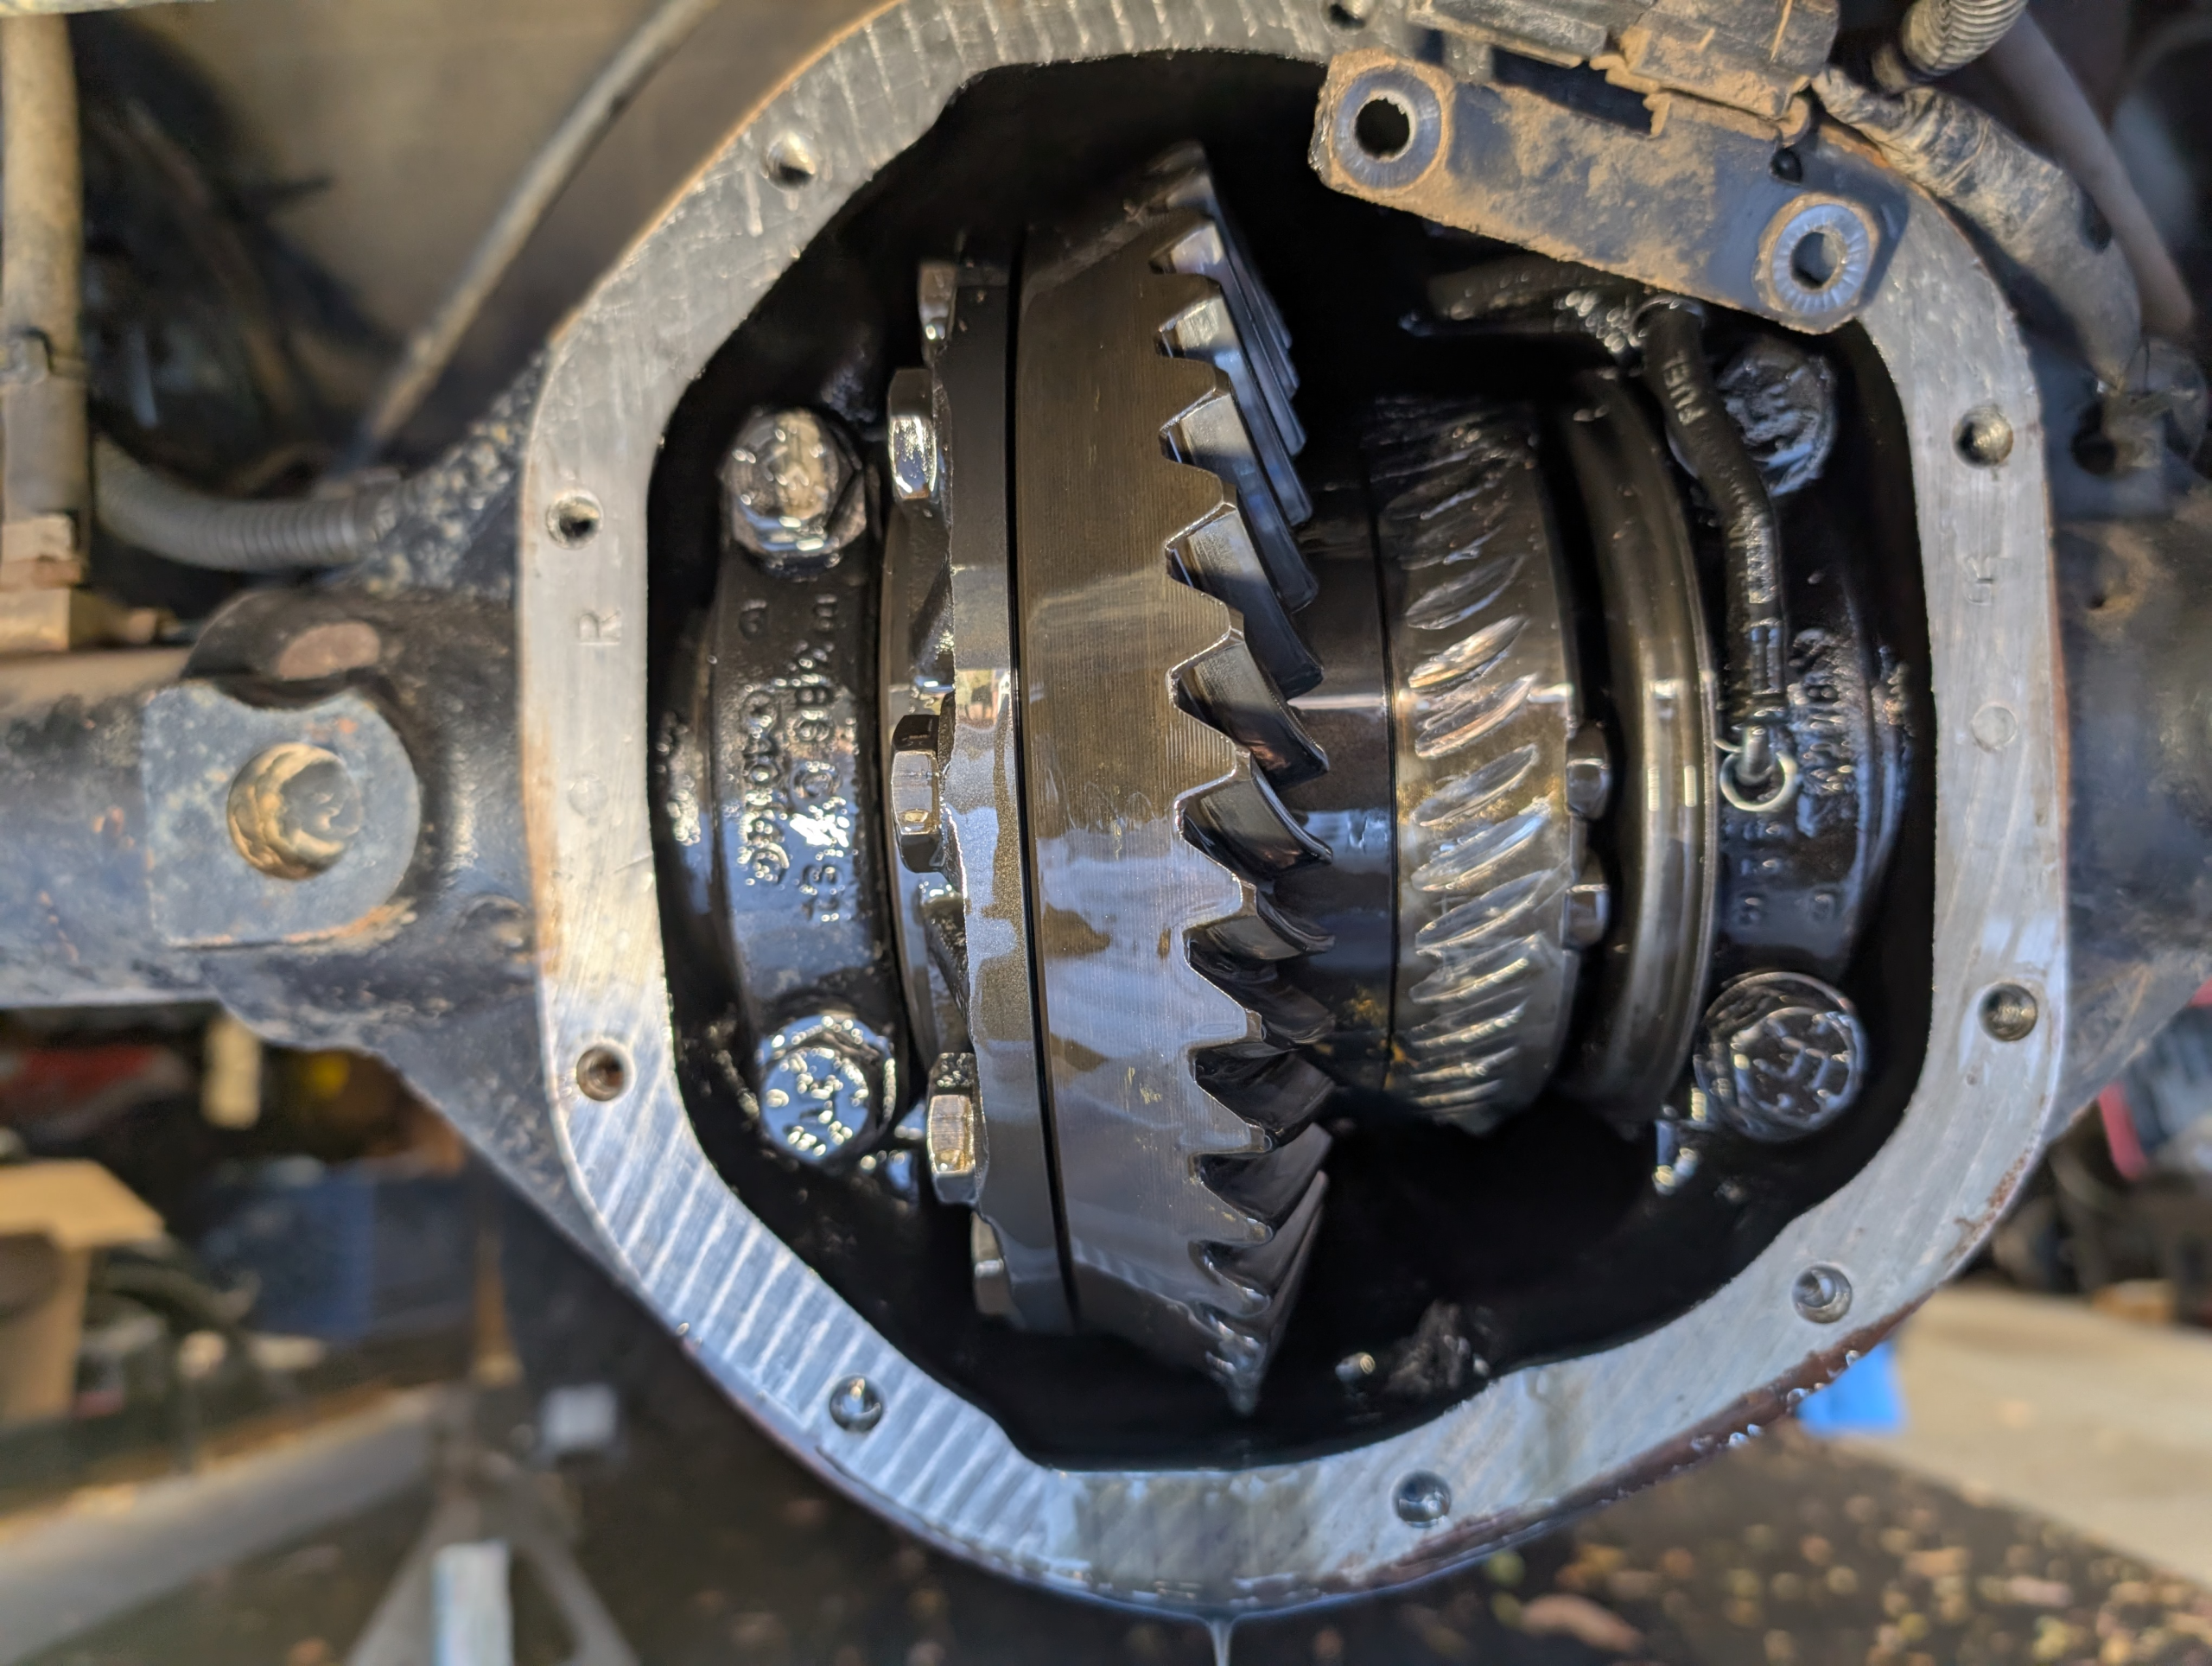
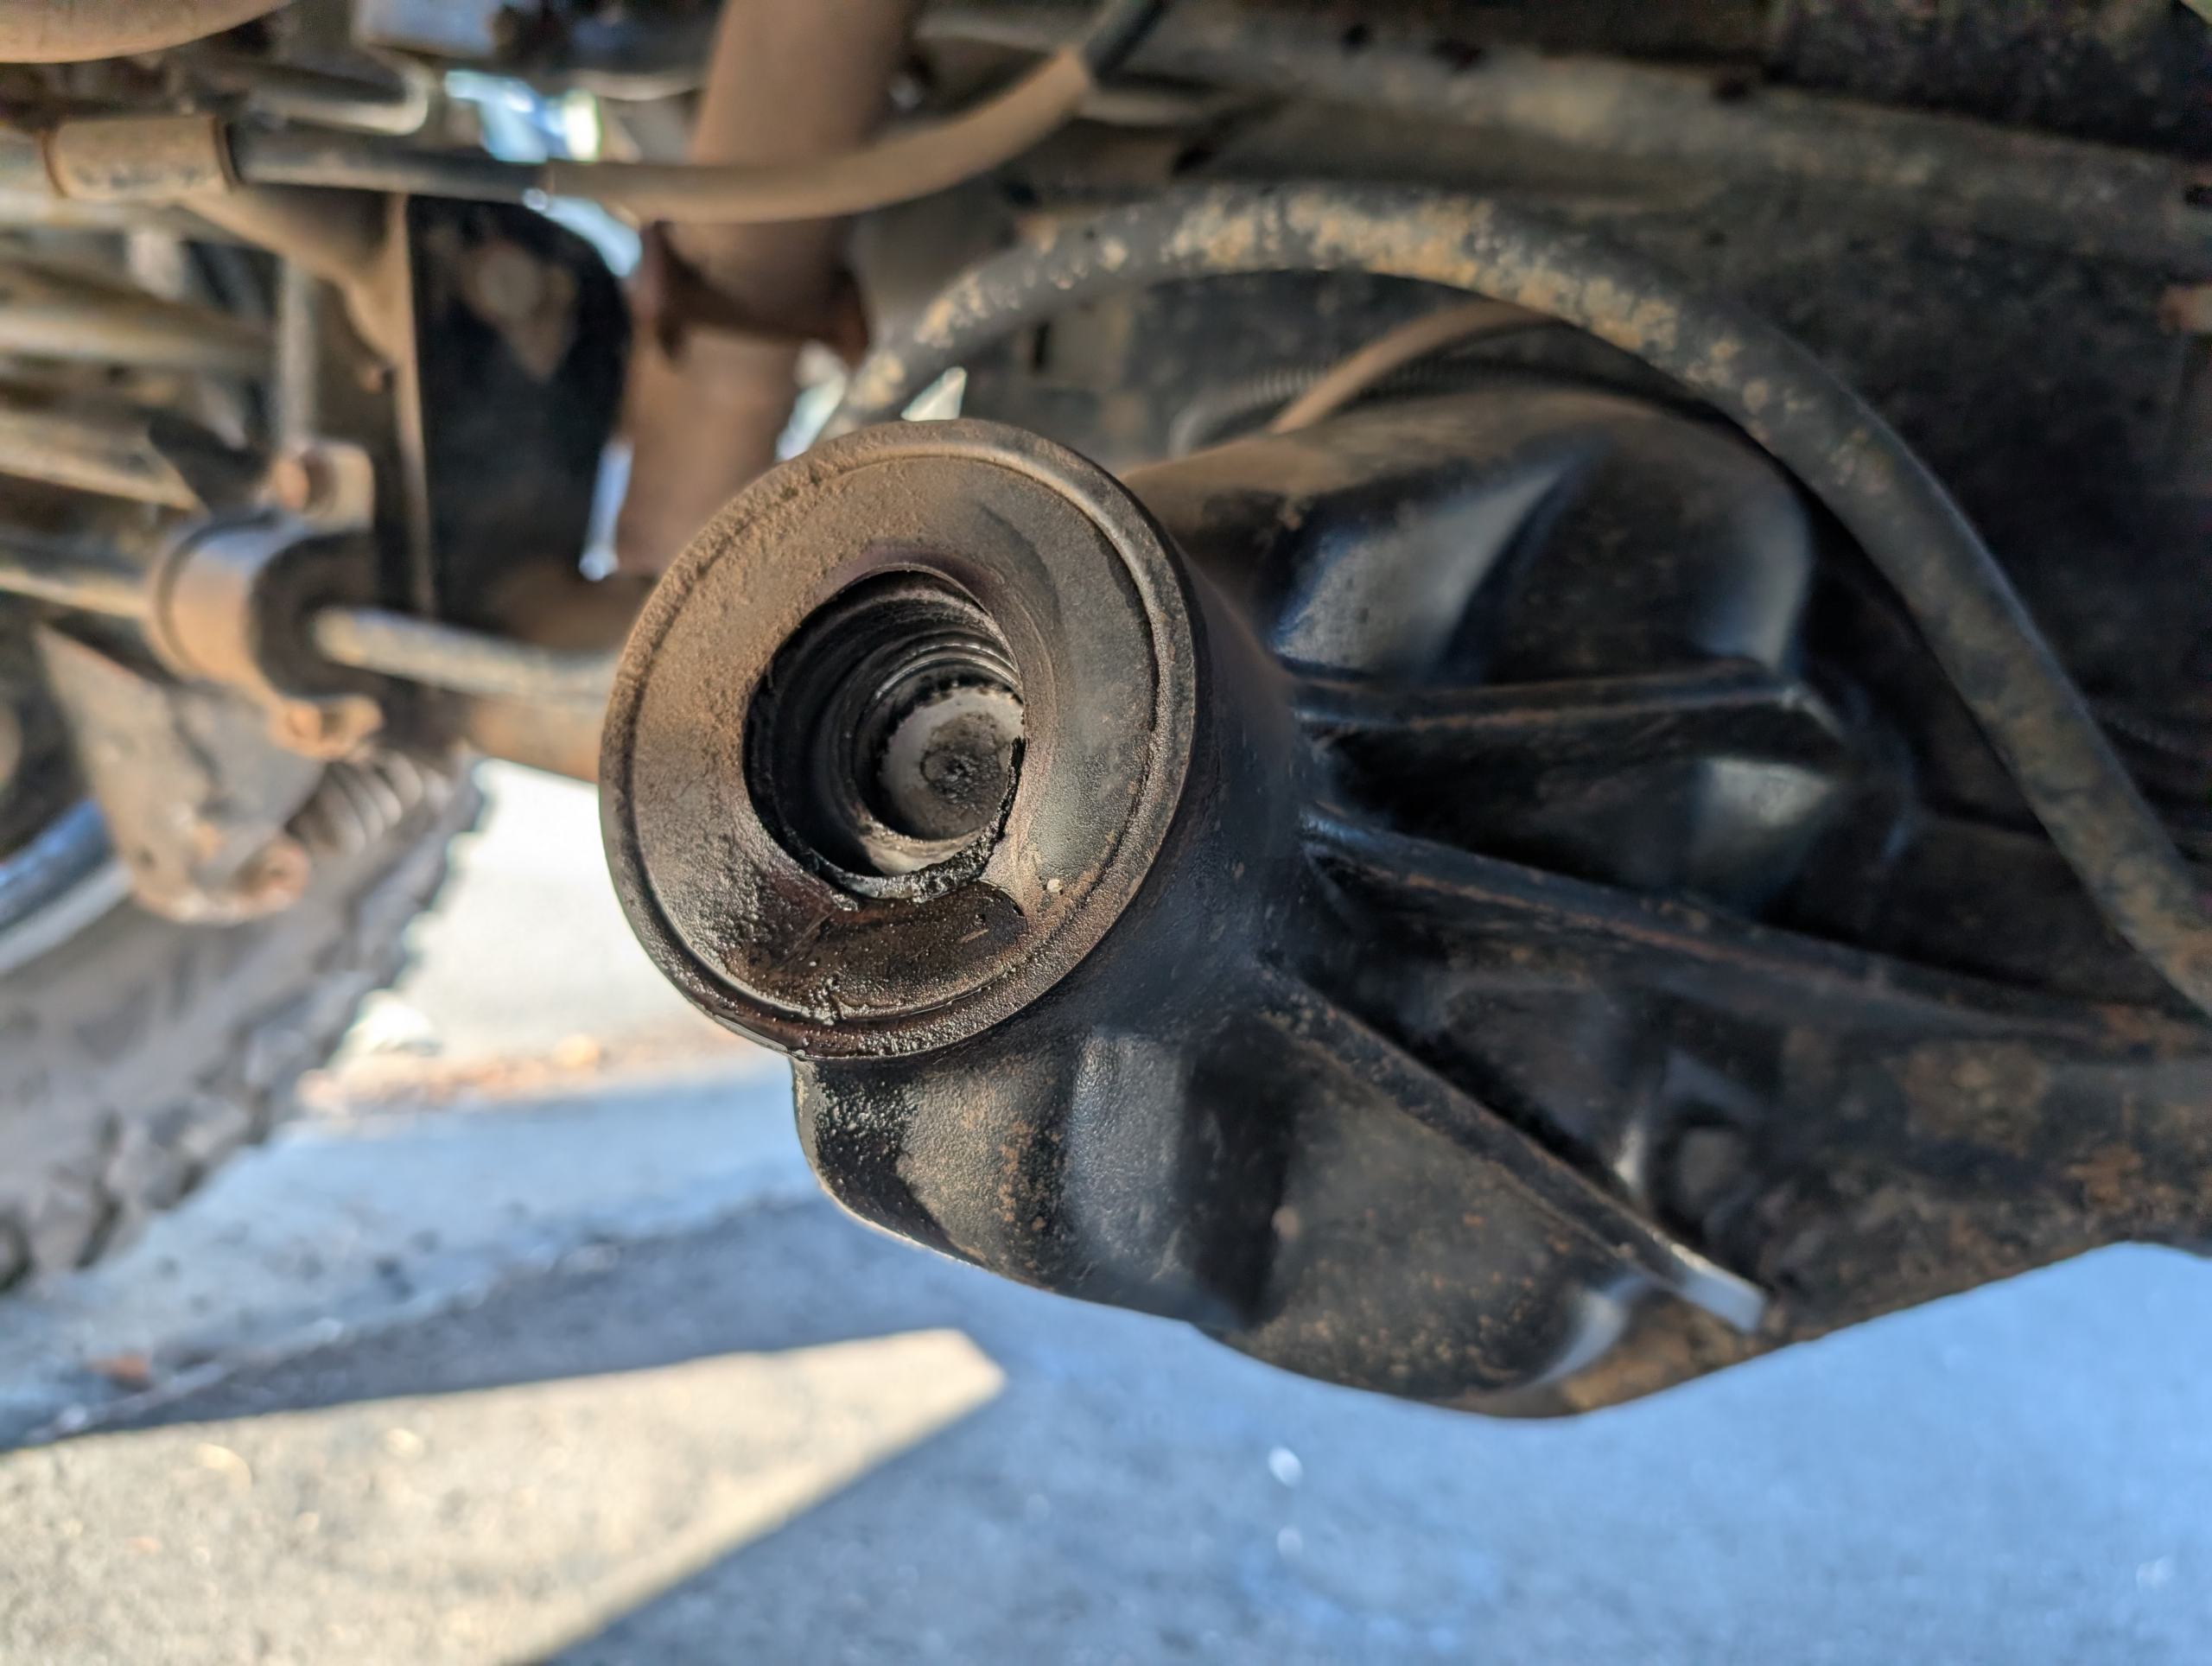
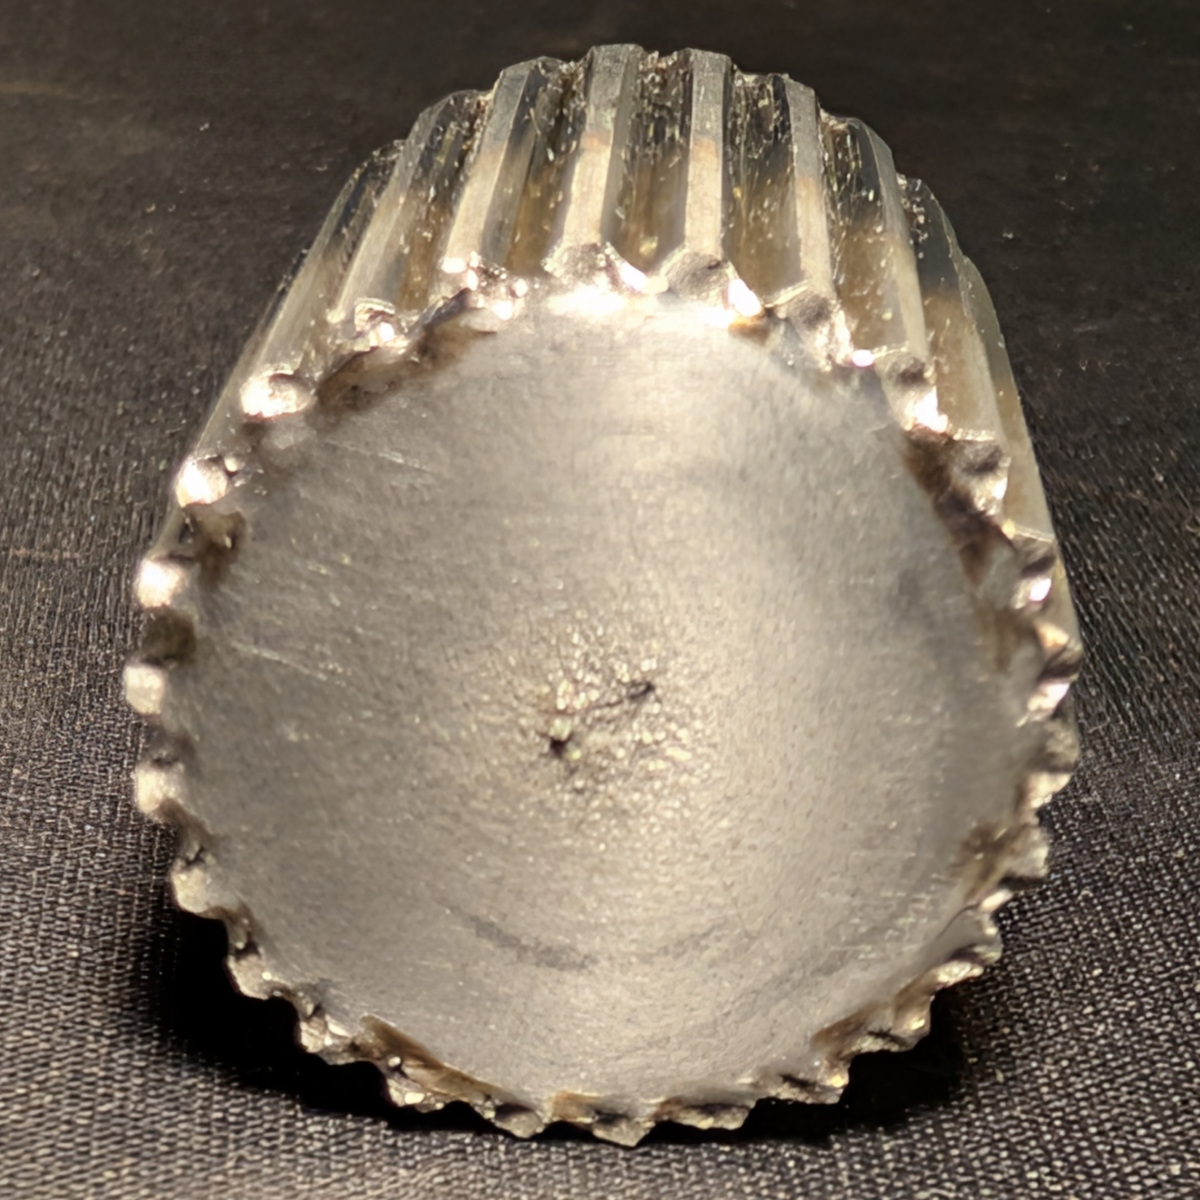
Here’s some pics of the original trail carnage:
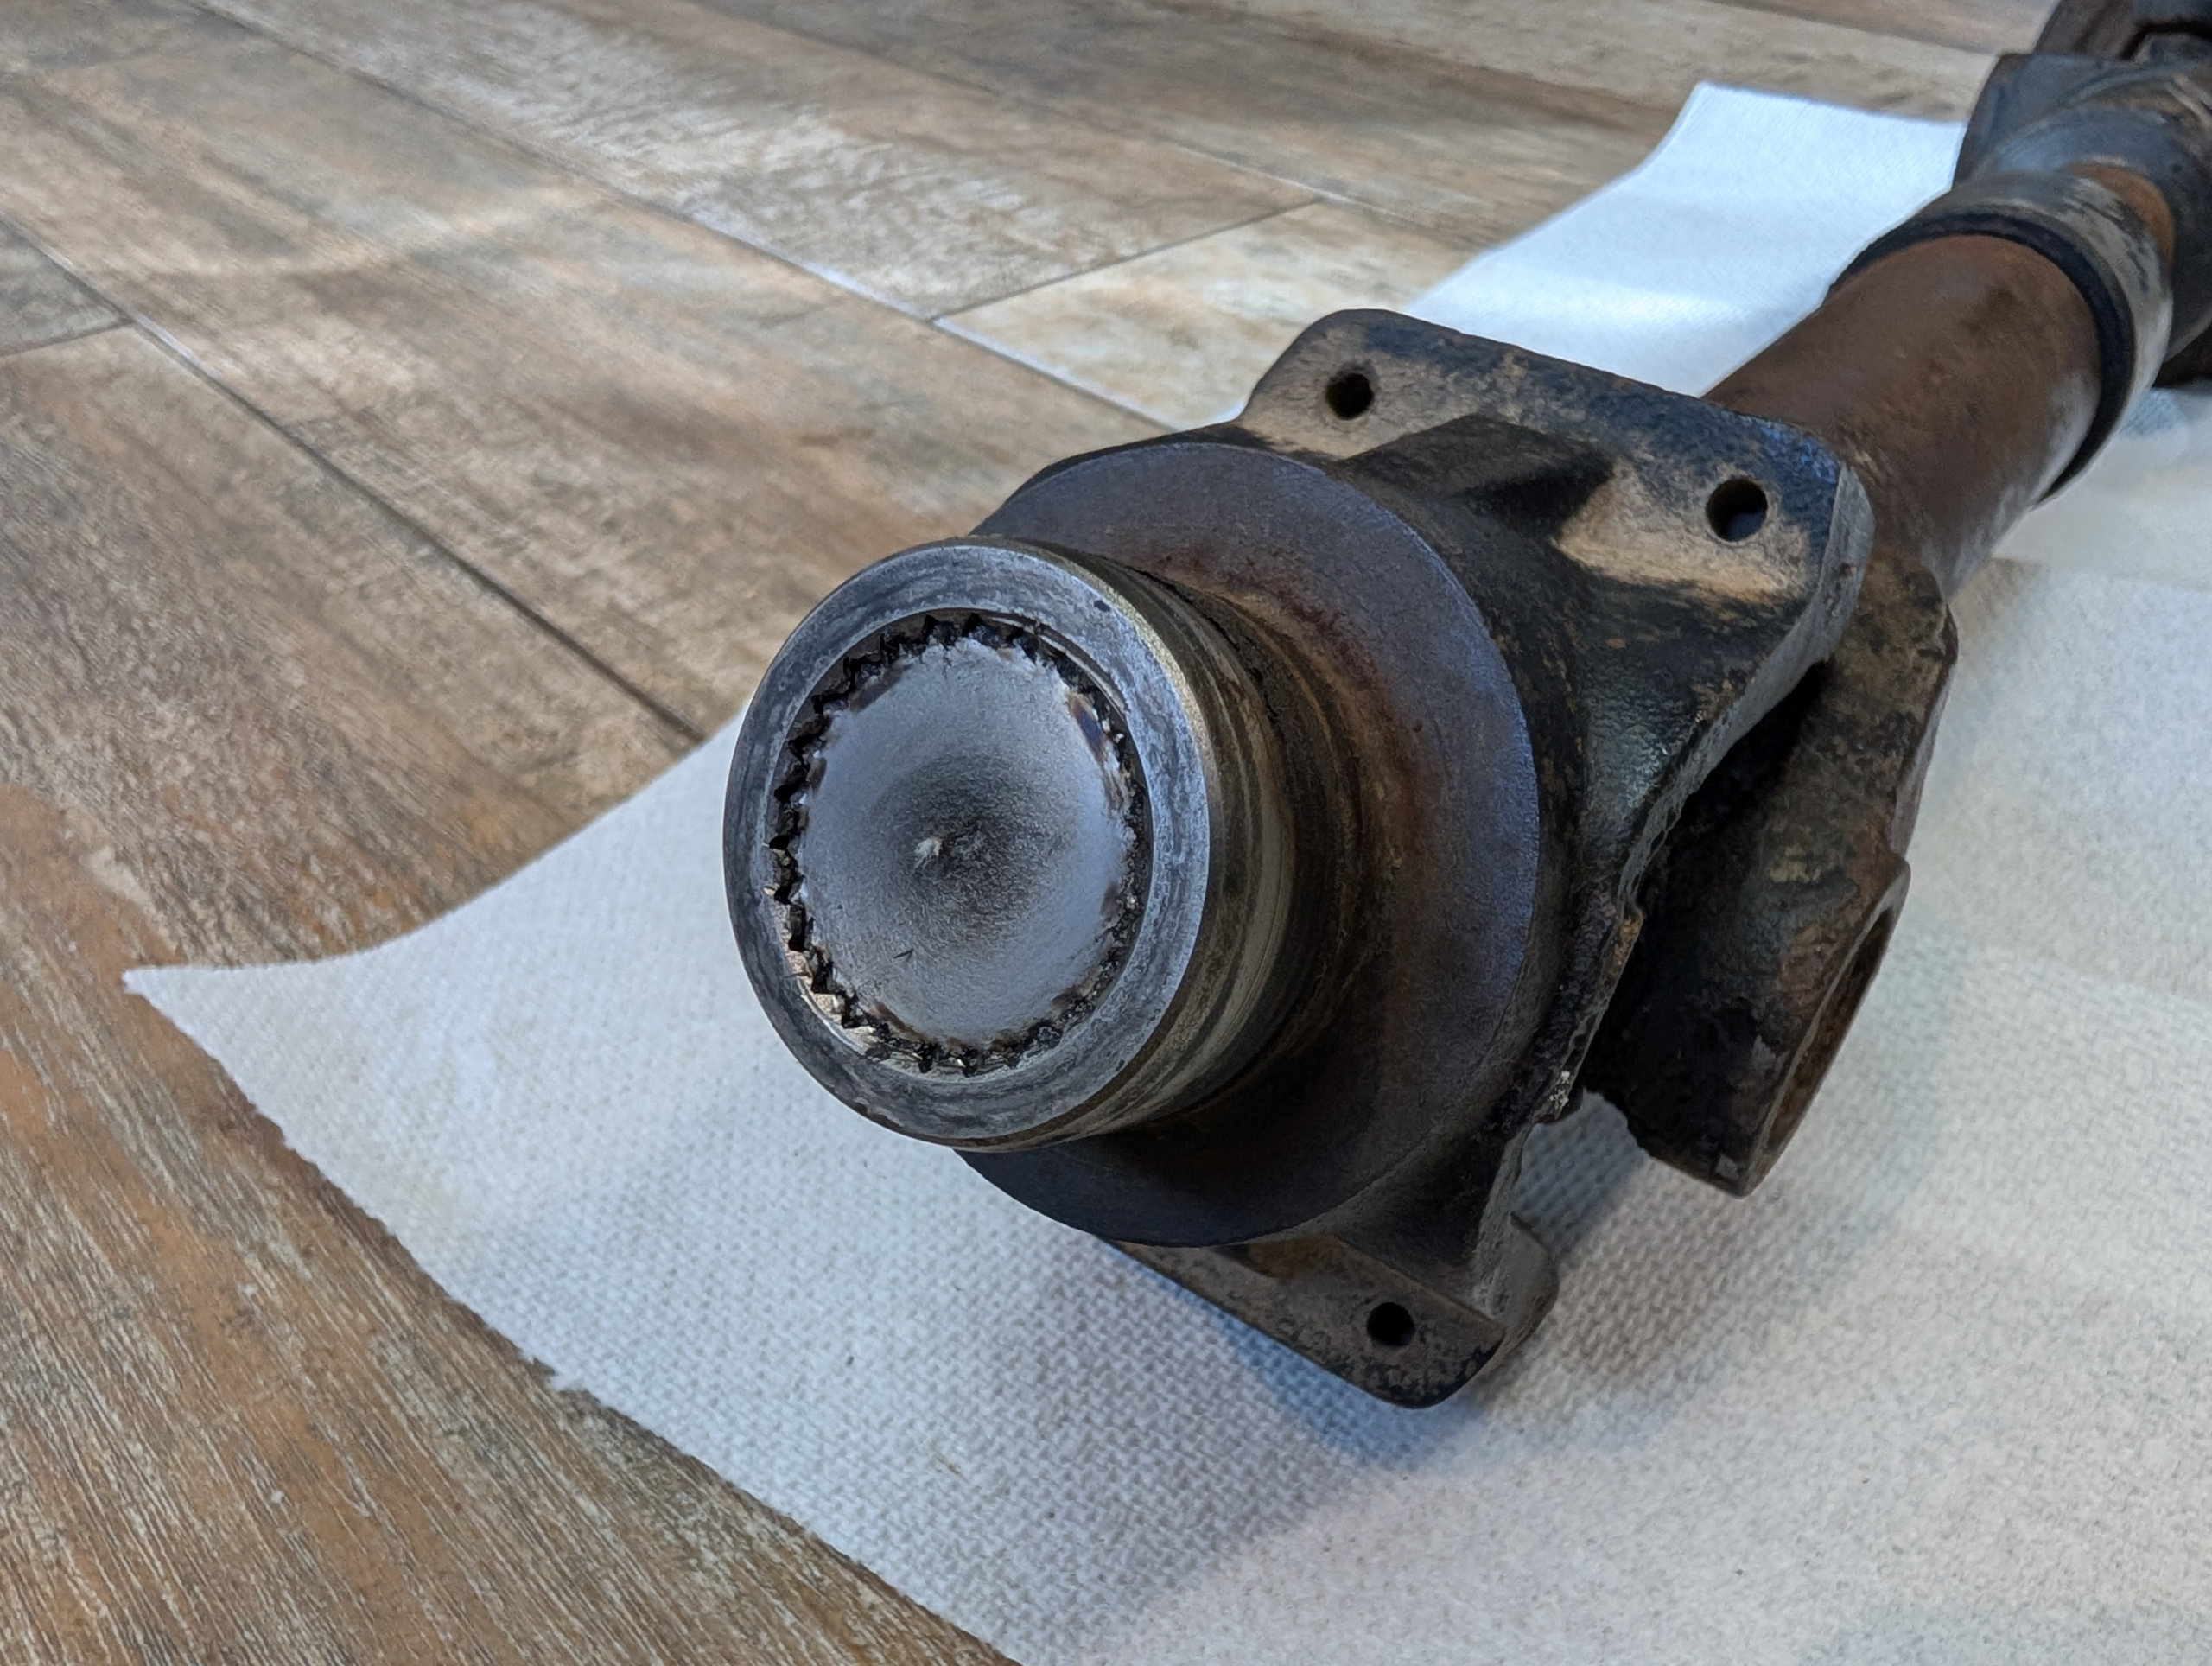
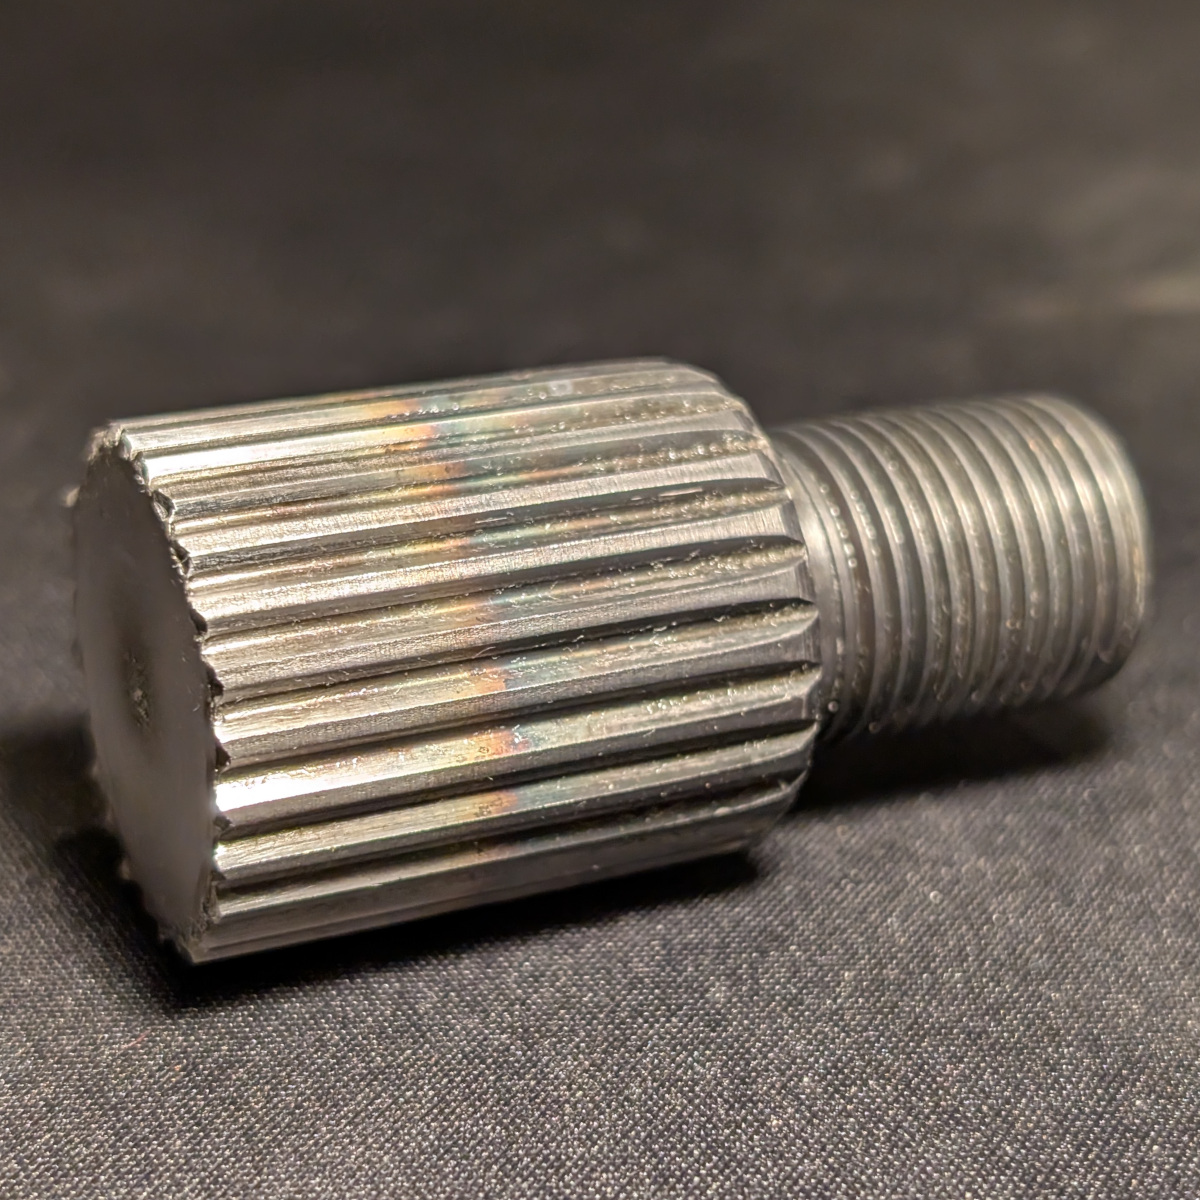
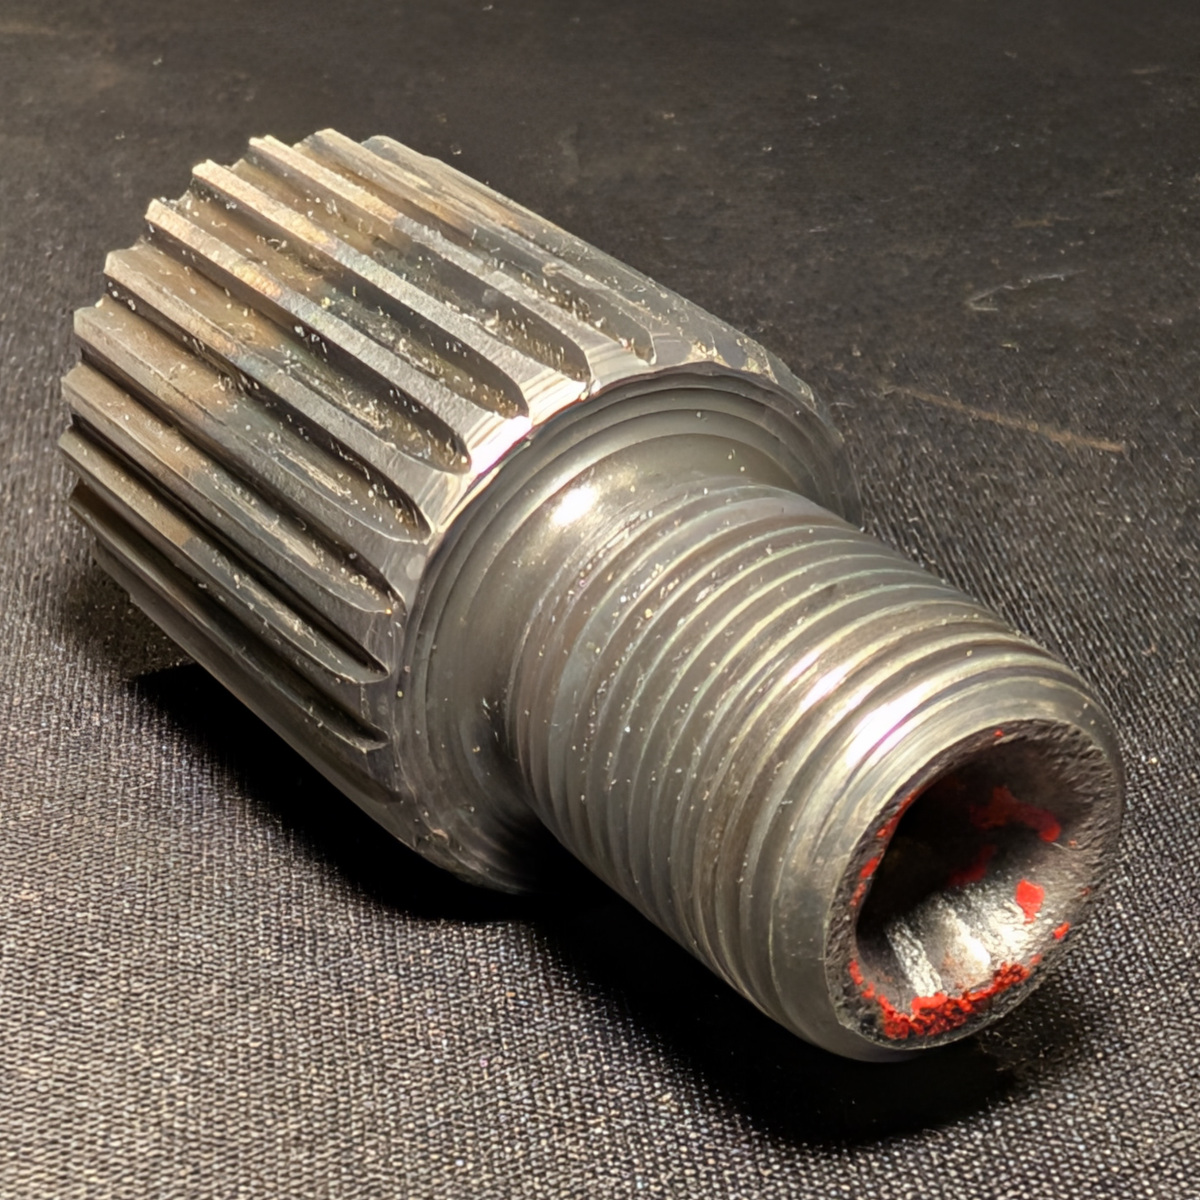
After removing the broken part of the pinion from the yoke:

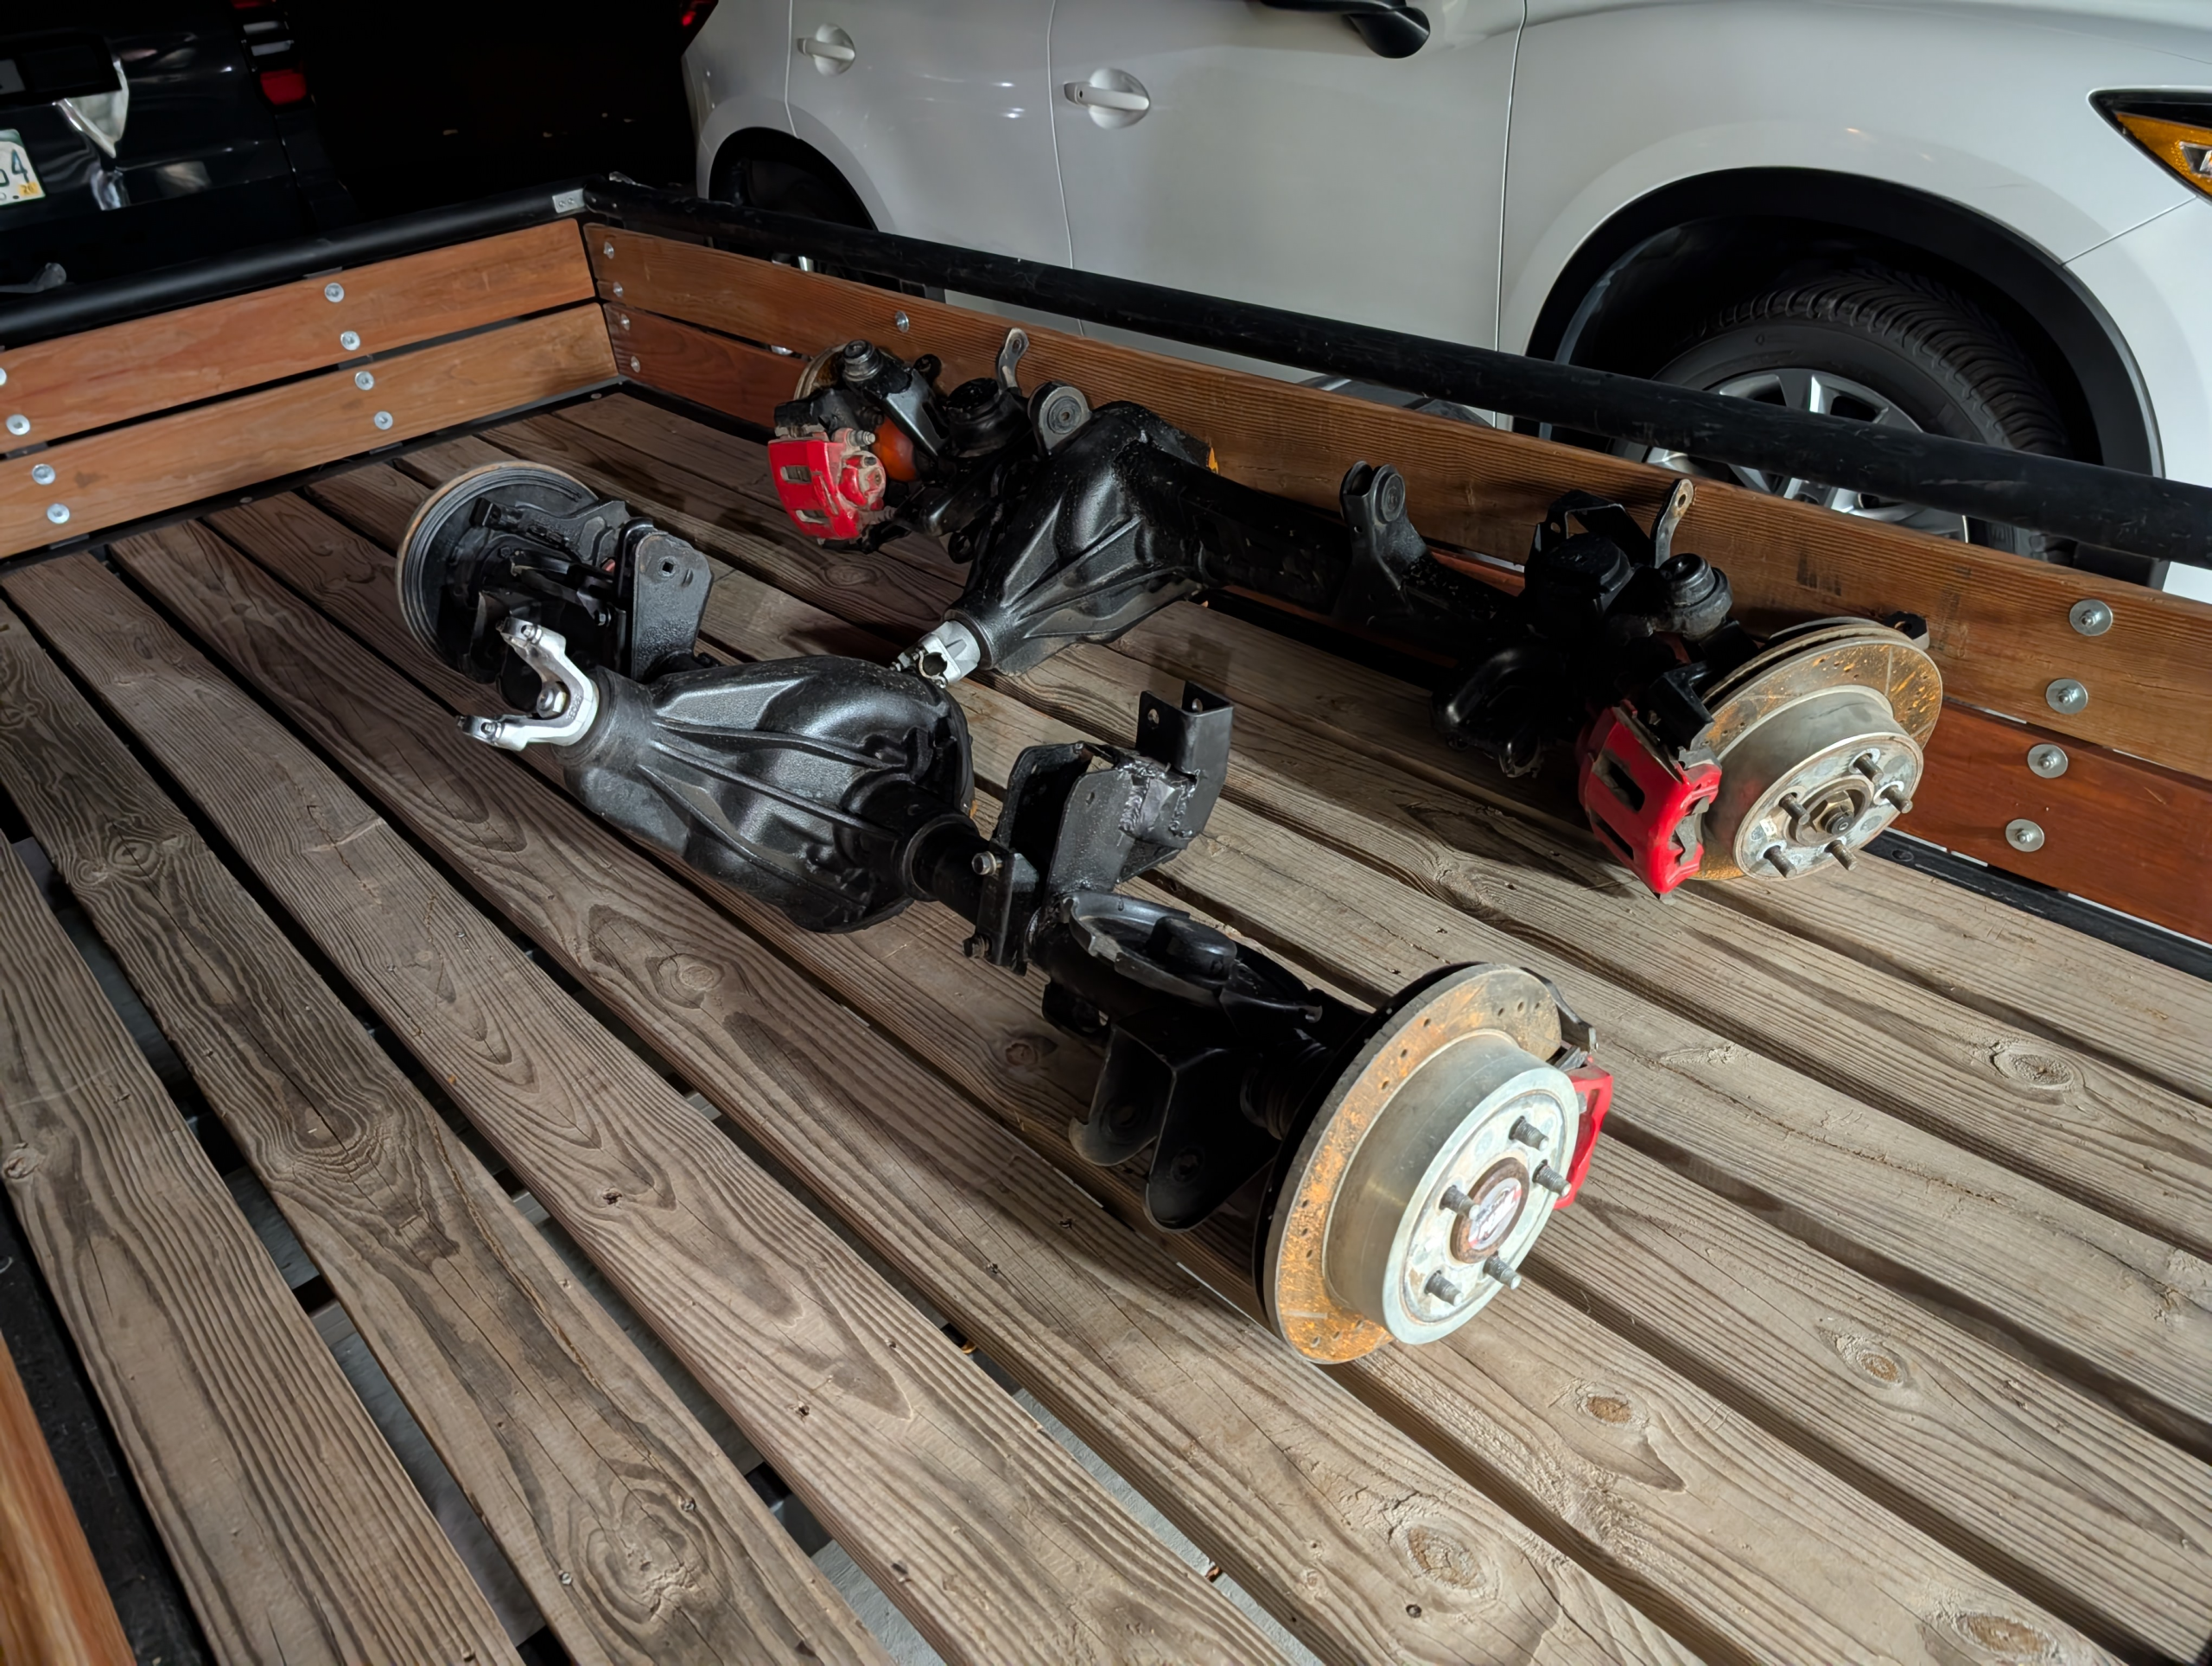
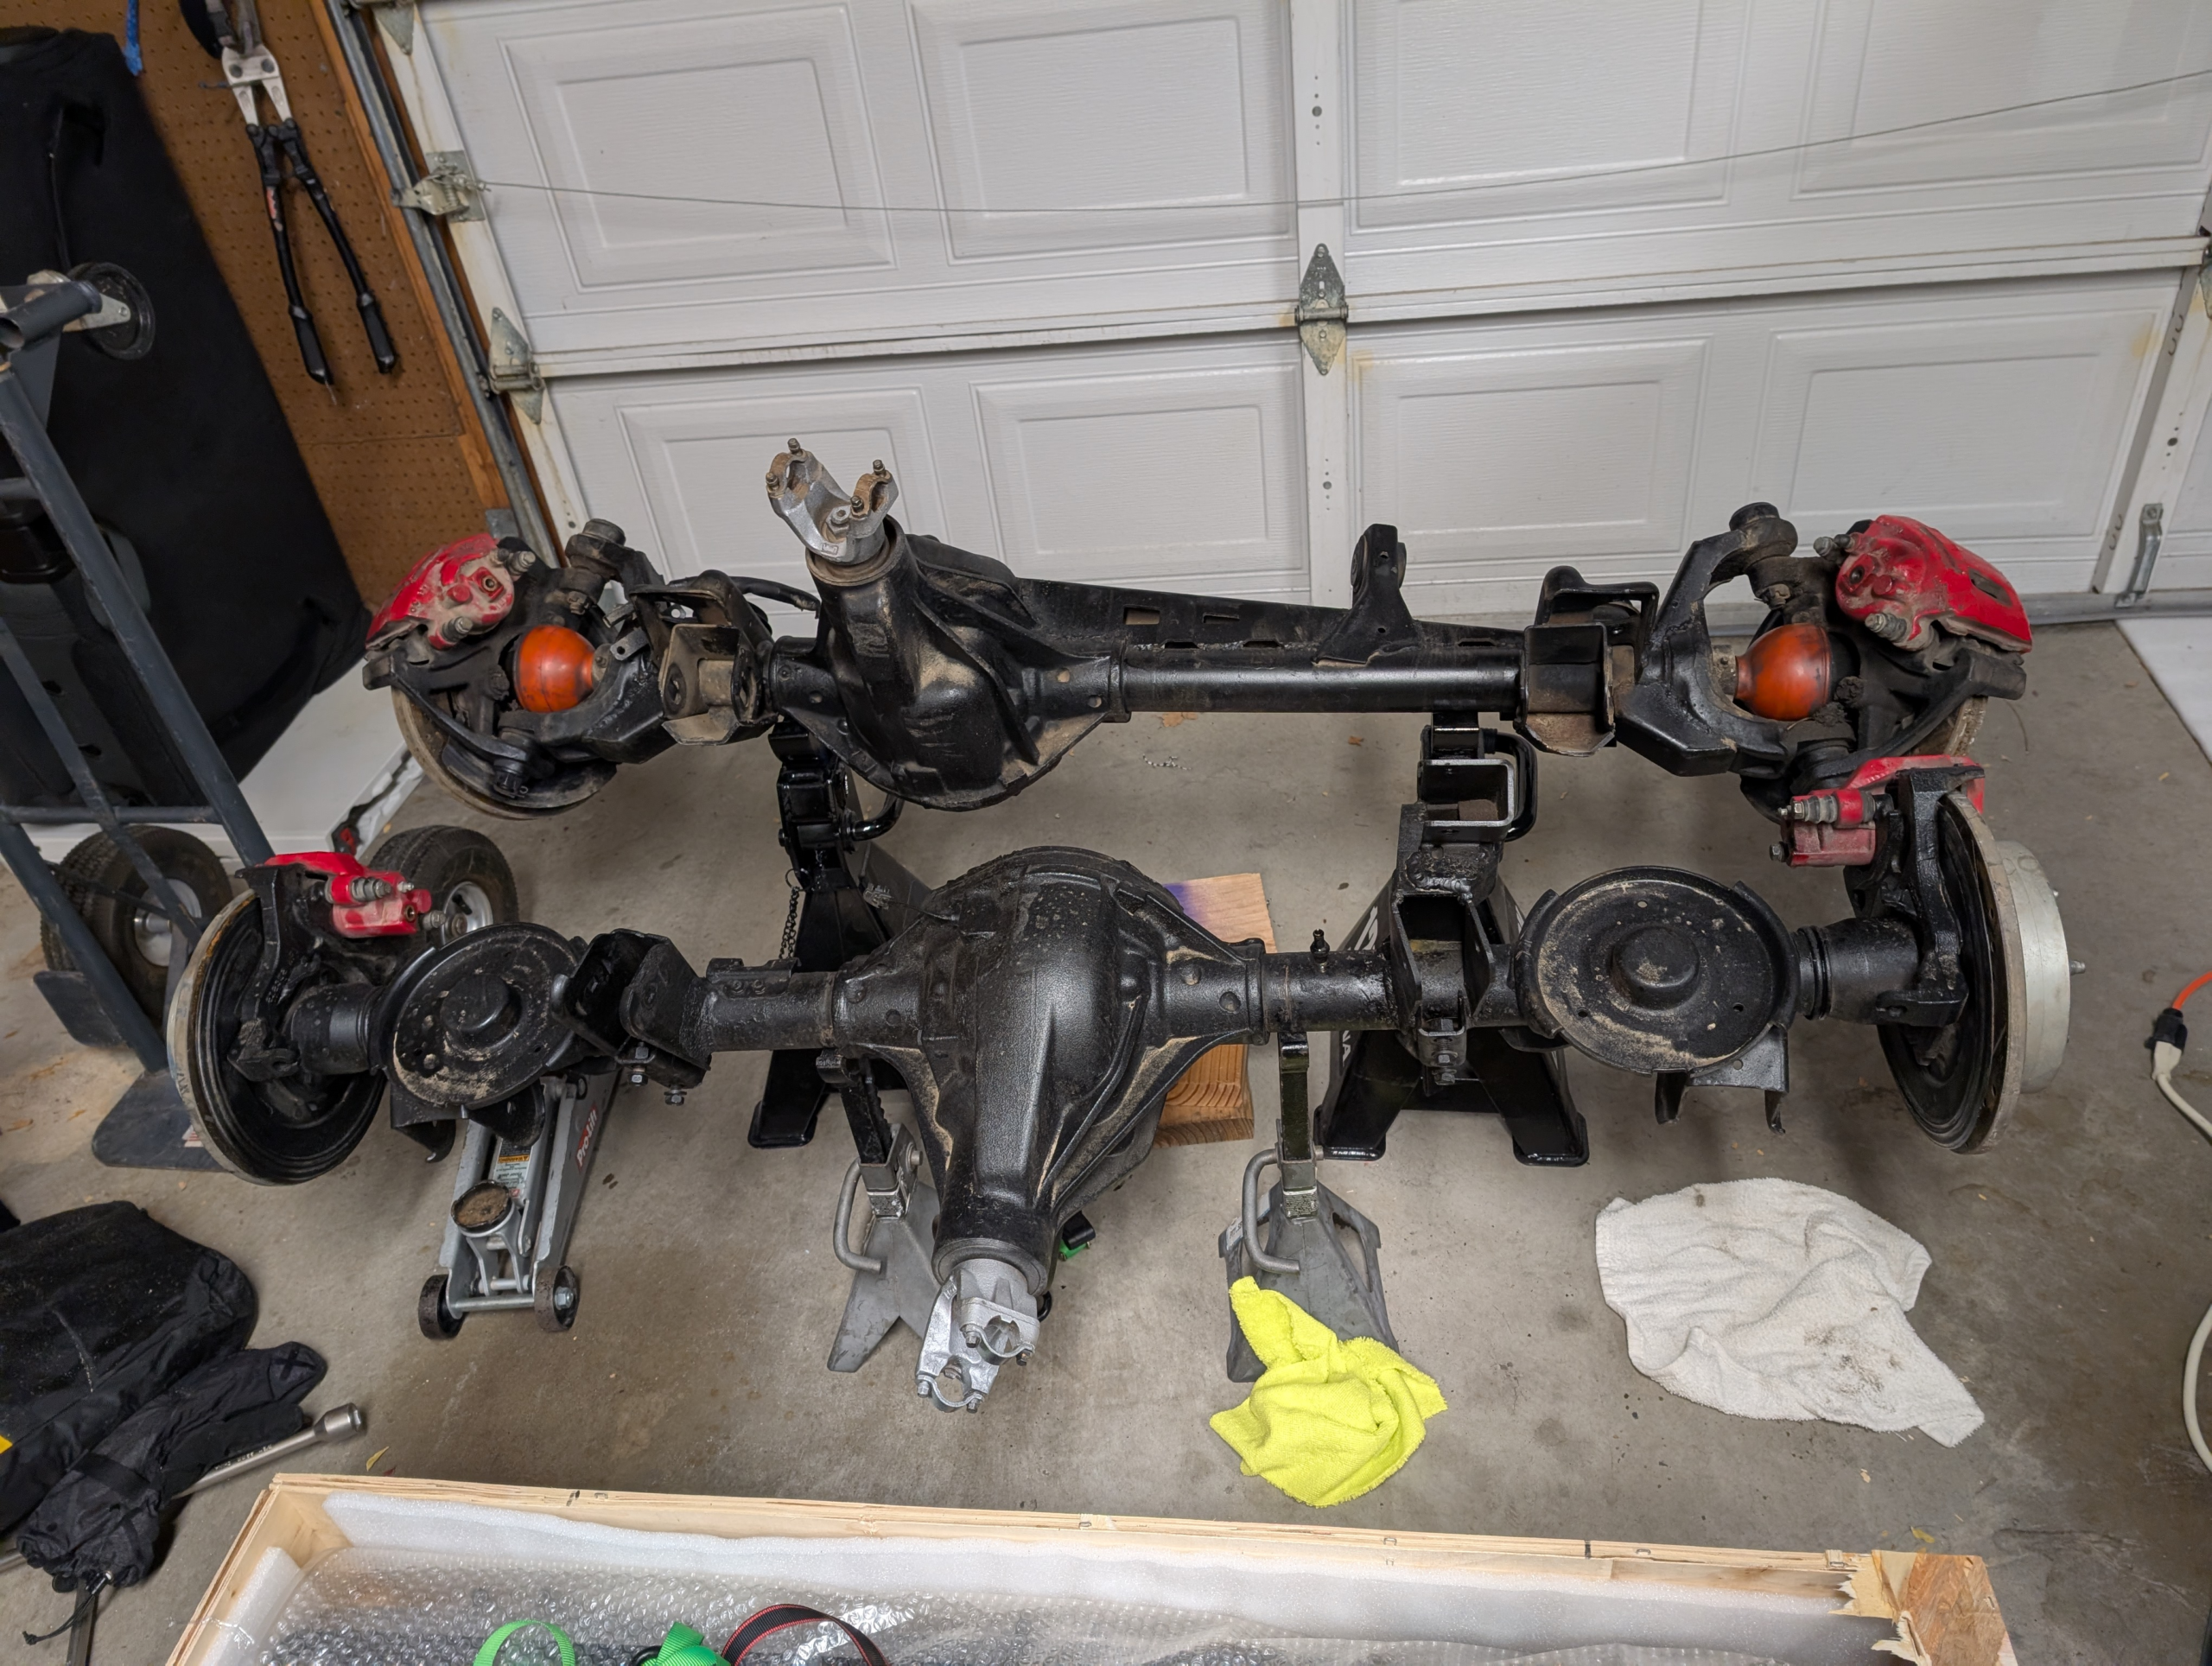
Here’s the replacement axles before the were installed:
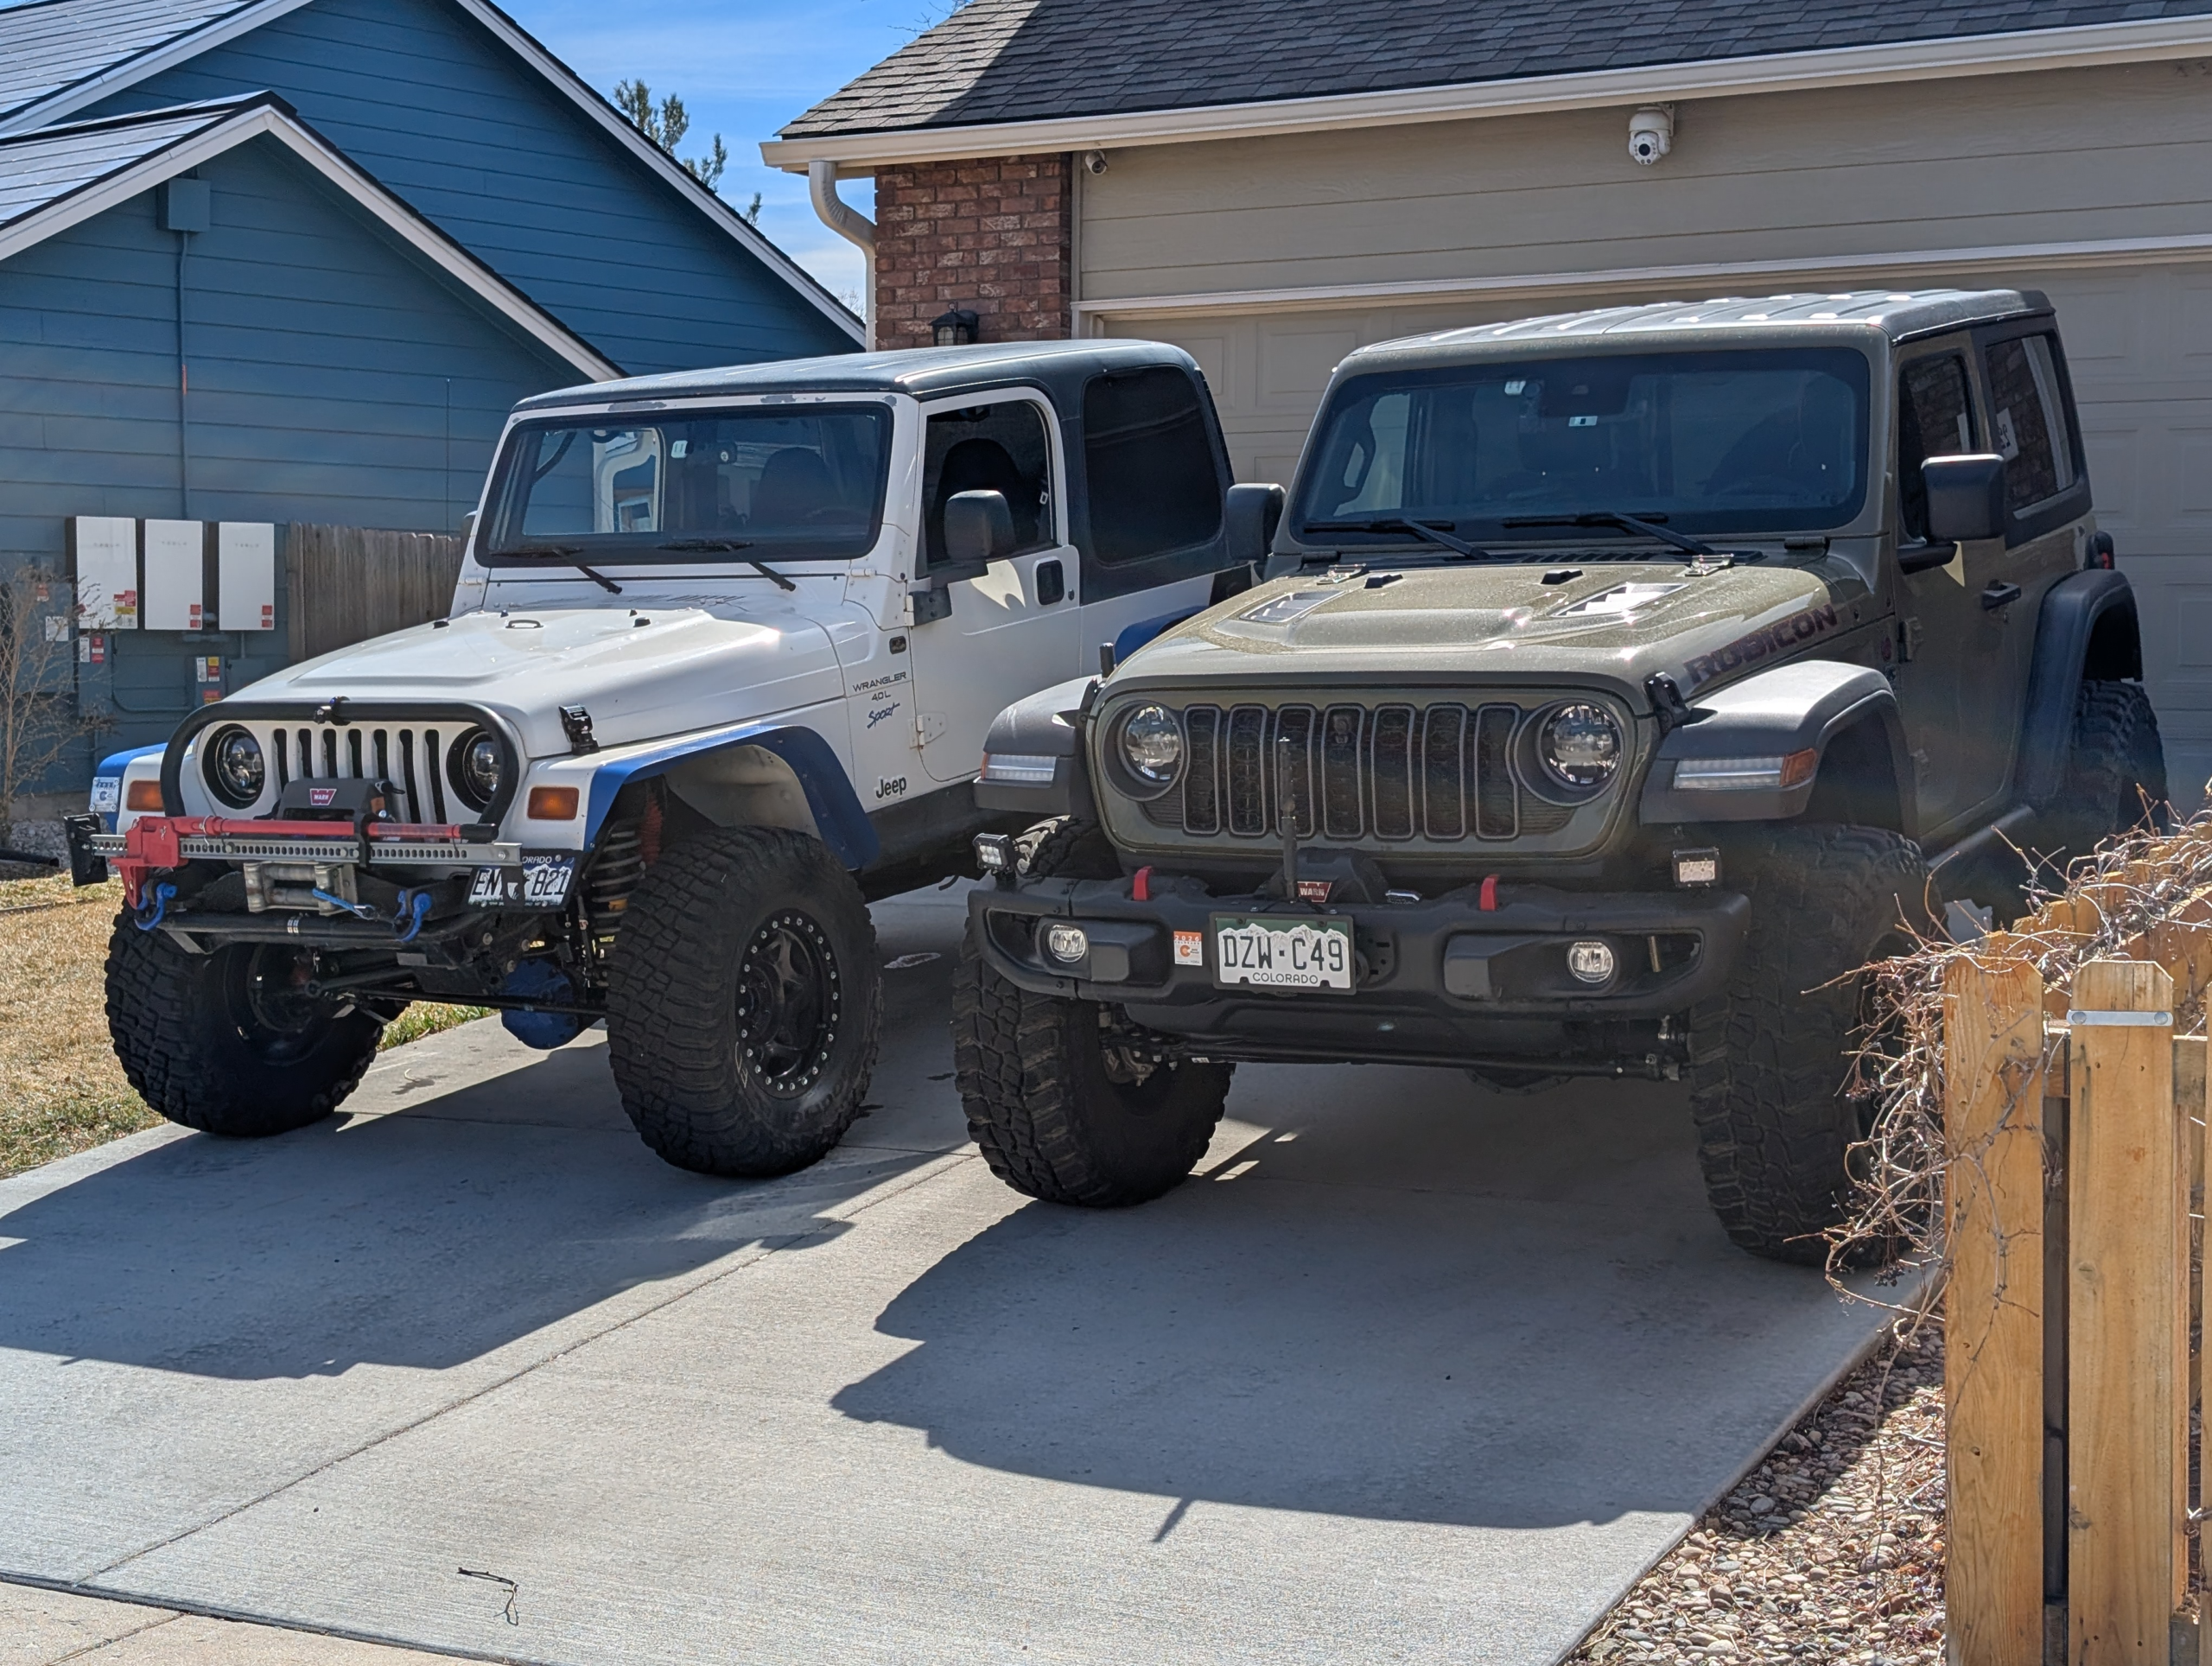
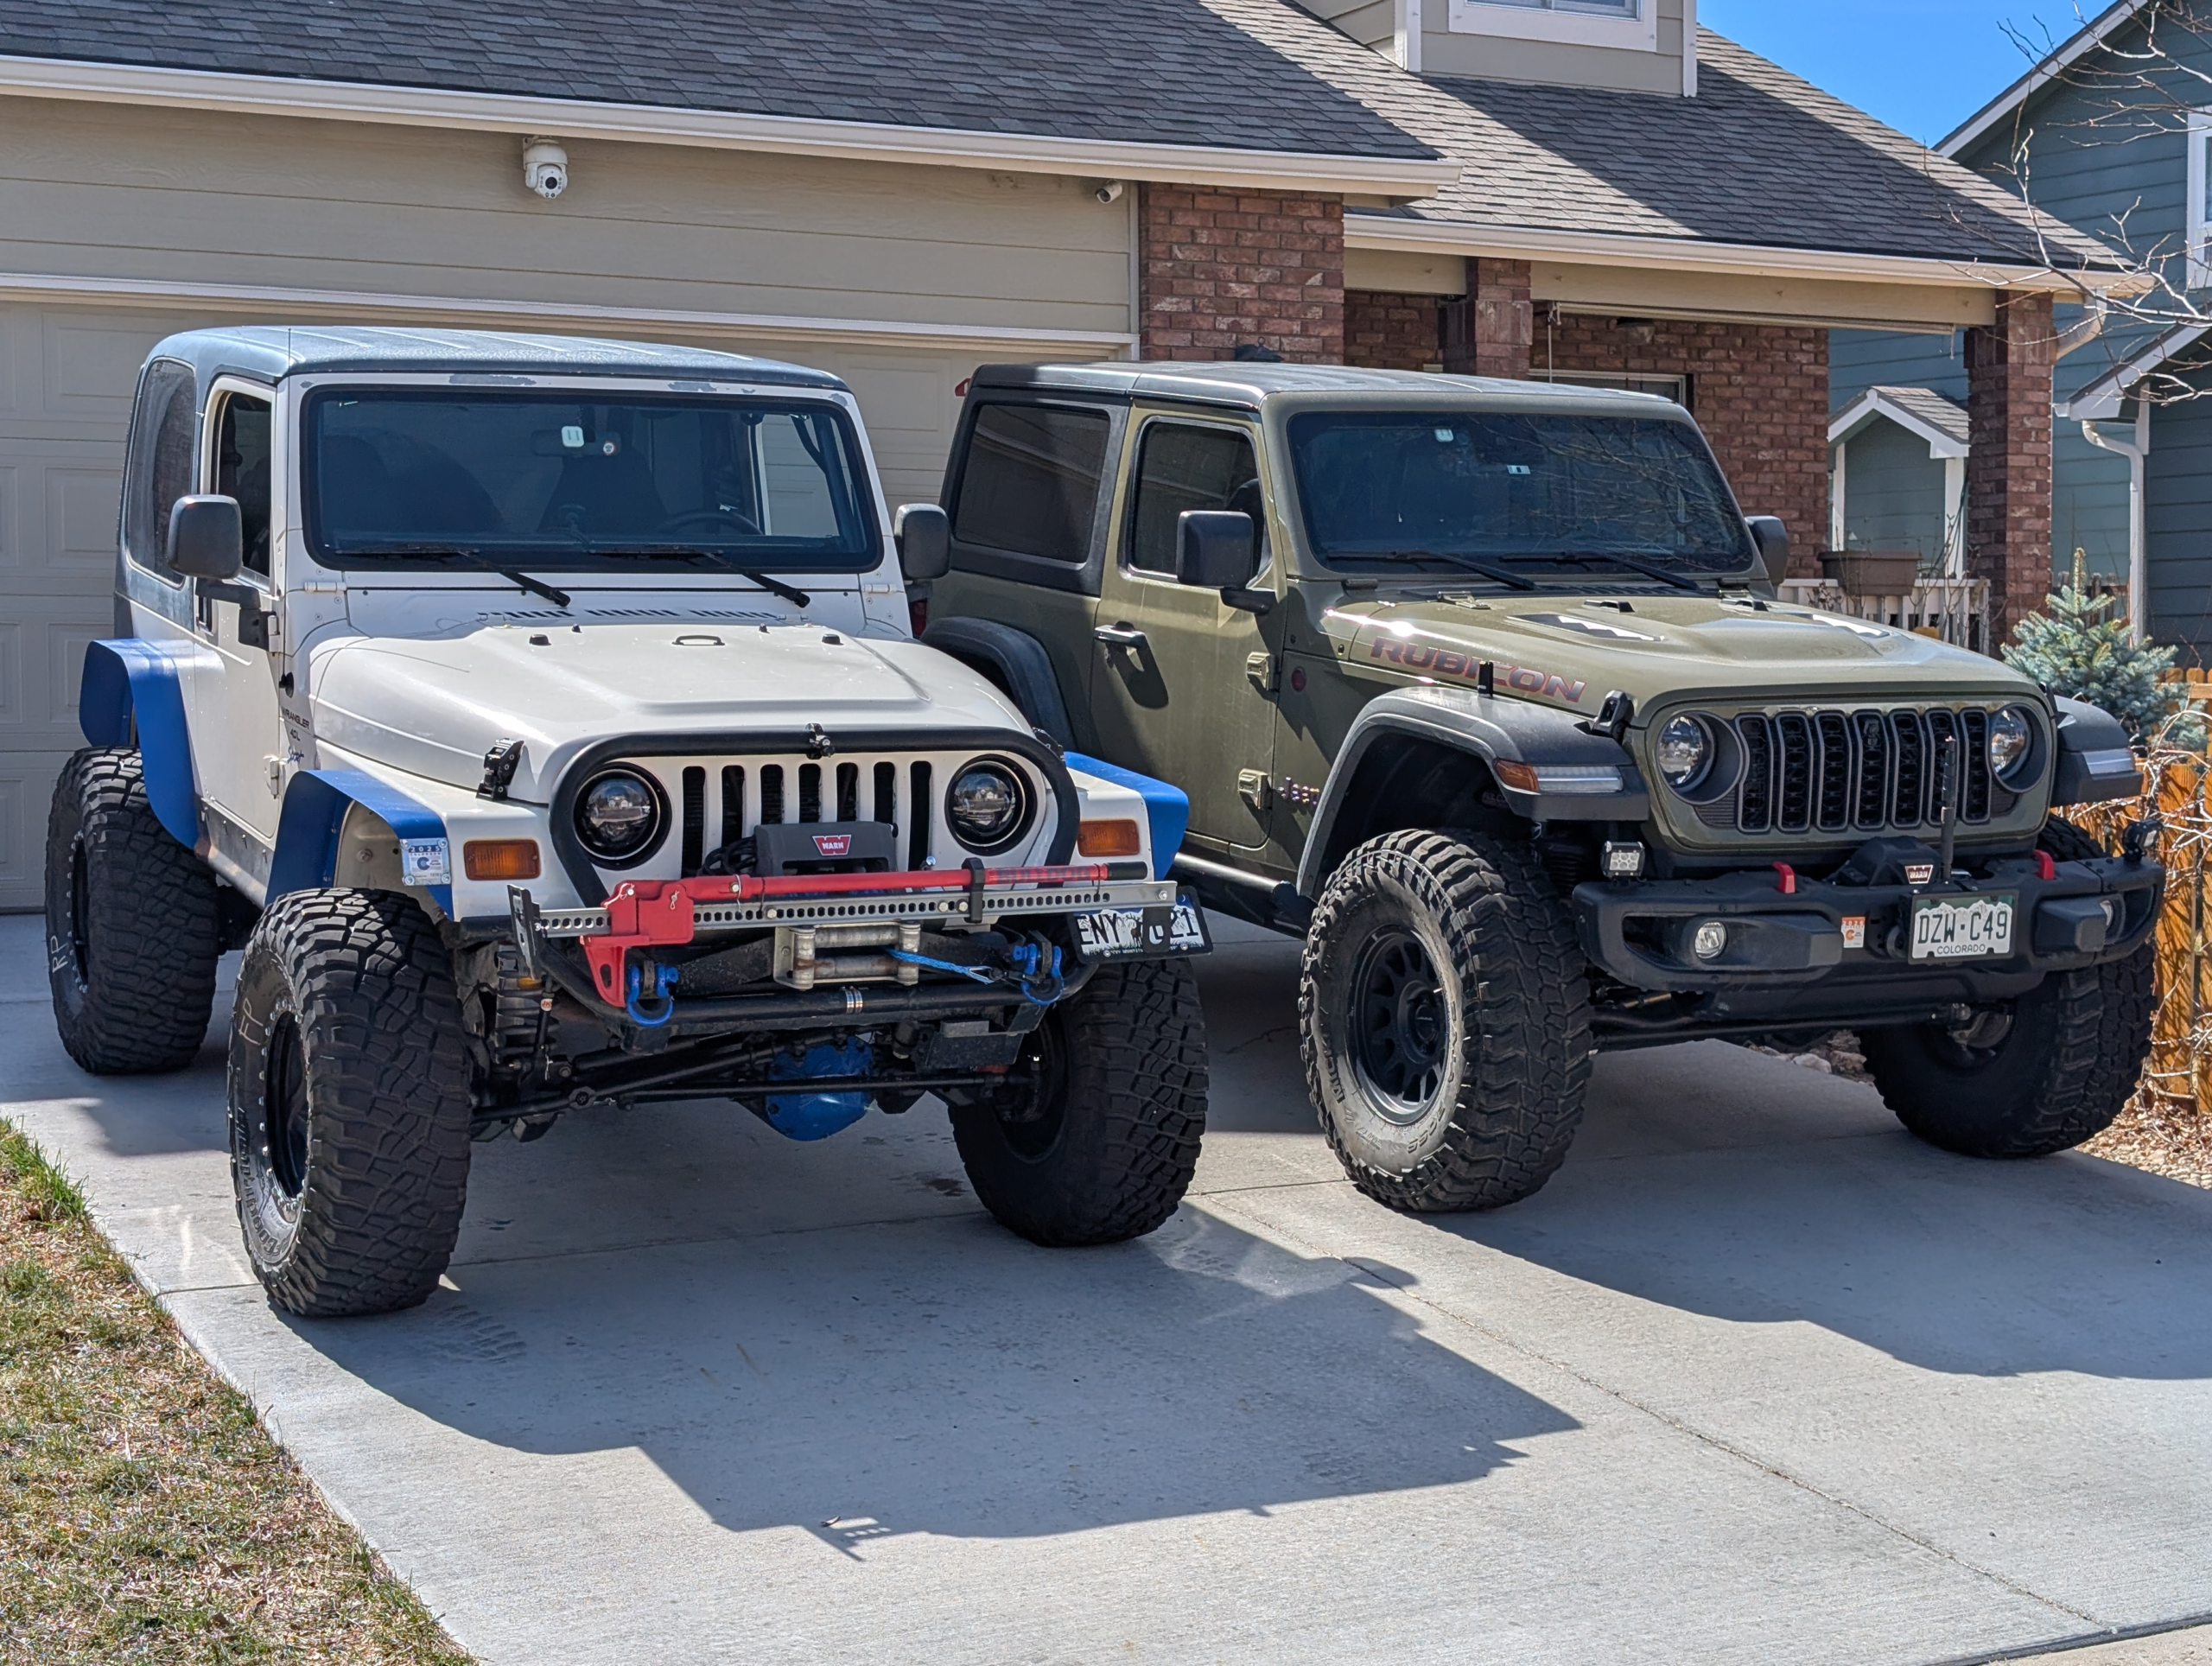
Here’s some pics after the swap:
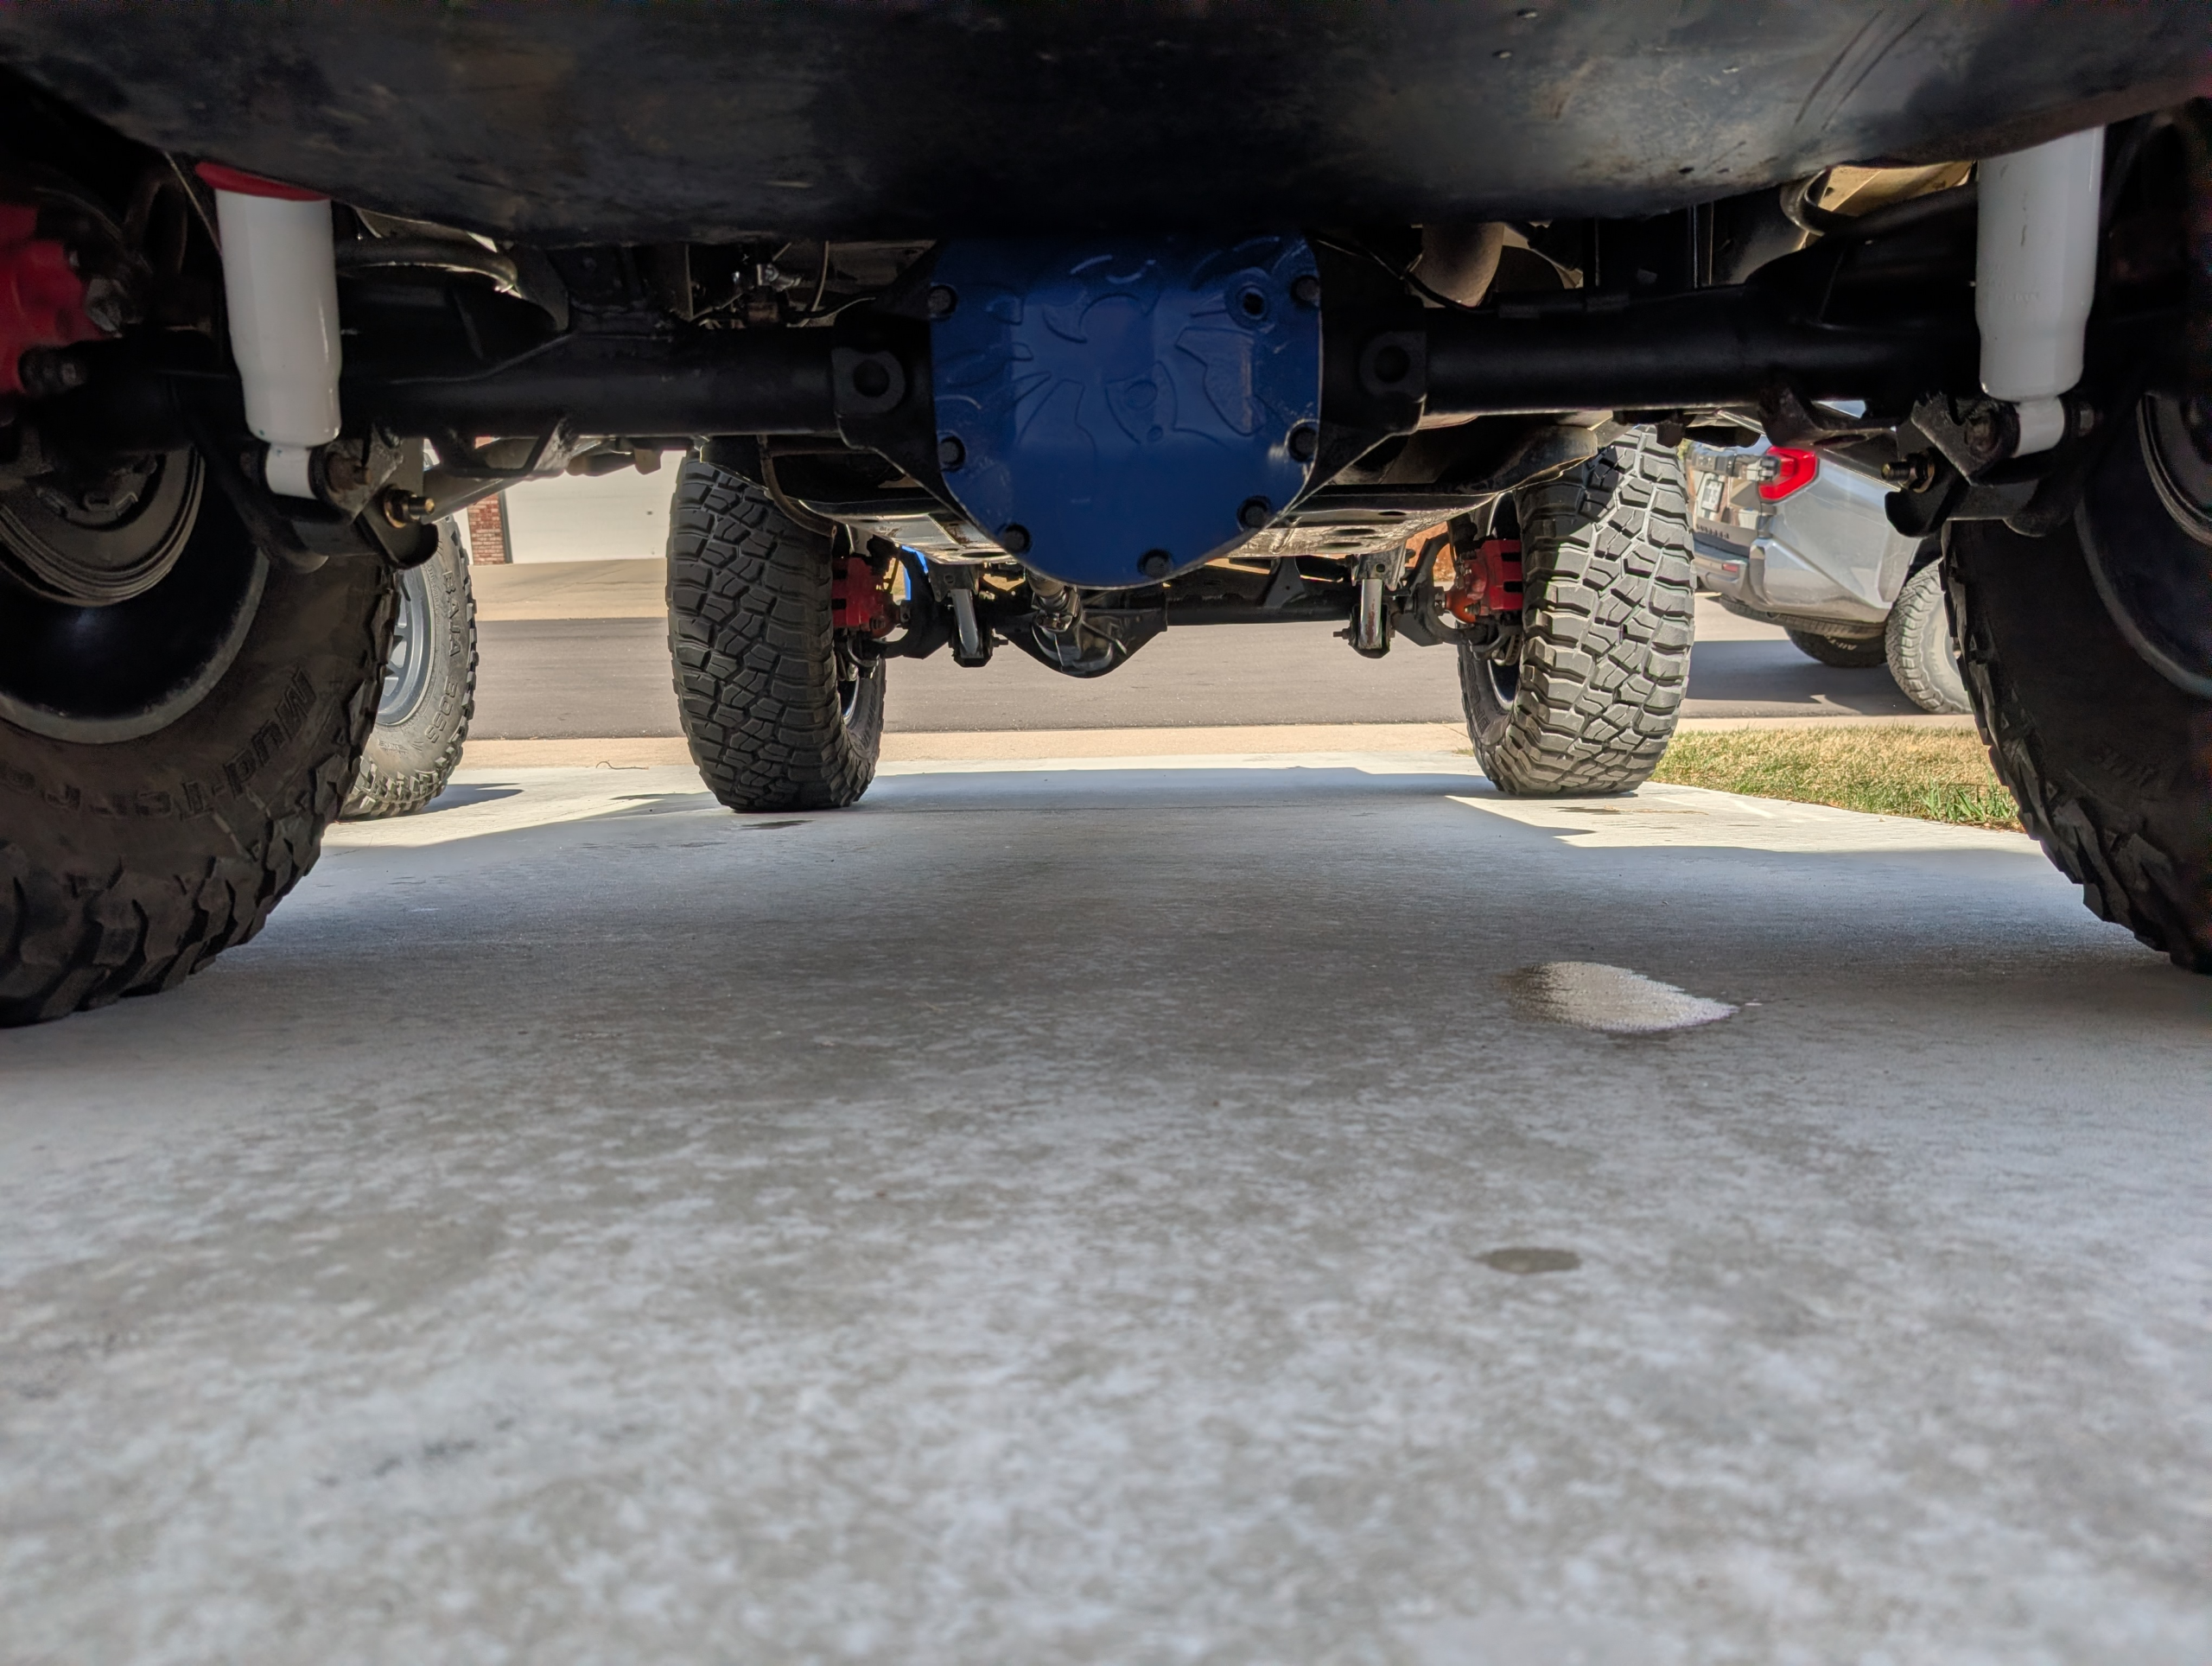

After driving it a little bit, it definitely feels geared better, especially going up hills. I drove it around the reservoir as an initial test since I was familiar with how those hills felt on the old axles with 4.1 gearing. It’s also riding better in general, with the new shocks, etc. The brakes work also work great. You can see in the pics that I painted the diff covers. When I got these, there was a little rust on them, so I had to deal with the rust and paint them. I happened to have some blue paint that matched the fenders. So far, I’m thinking that I’ll just keep the 35s on it.
2026-06-24 Update
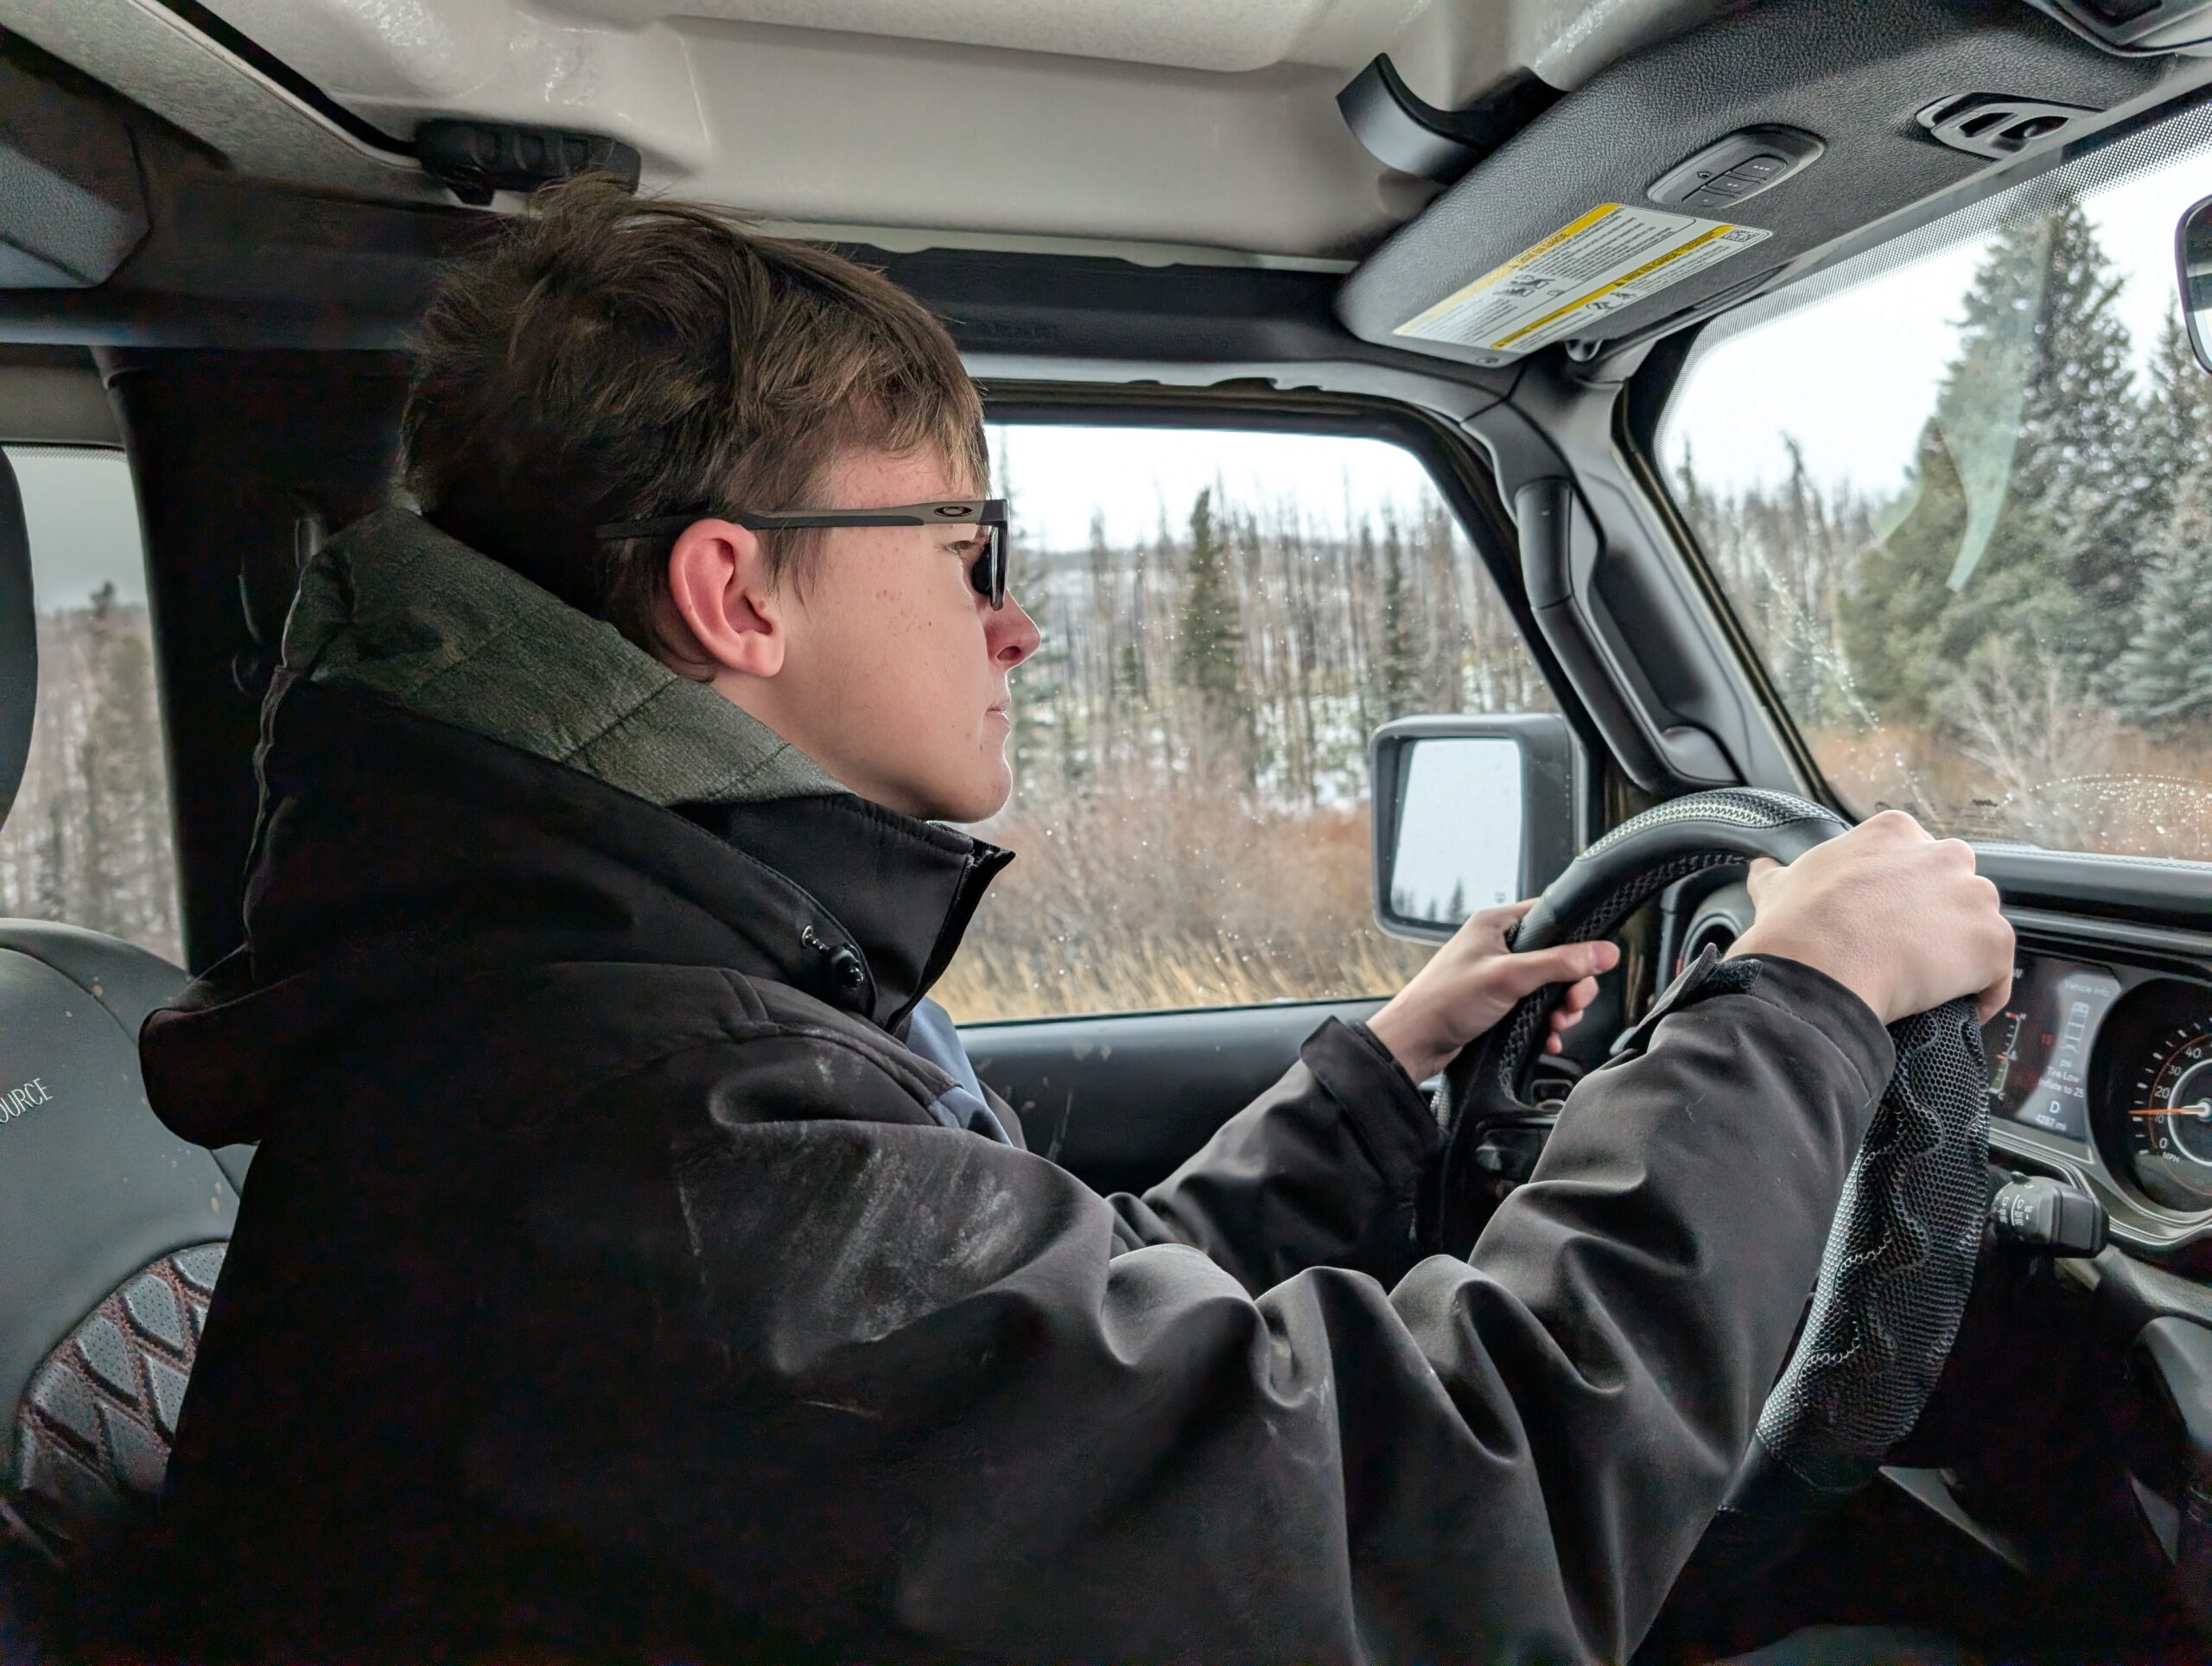
It took me until June to get this thing back out onto the trail. Most of the trails don’t open until June 15th in our area and the timing just hasn’t been right (we’ve been busy). Amazingly, the TJ drives perfectly straight on the road so I didn’t bother with a professional alignment — just sticking with the adjustments I did myself. I’ve only got it up to about 65 MPH where the tach is setting at about 3,500 RPM. I imagine that’s about as fast as I’ll drive it on the current gearing and tires.
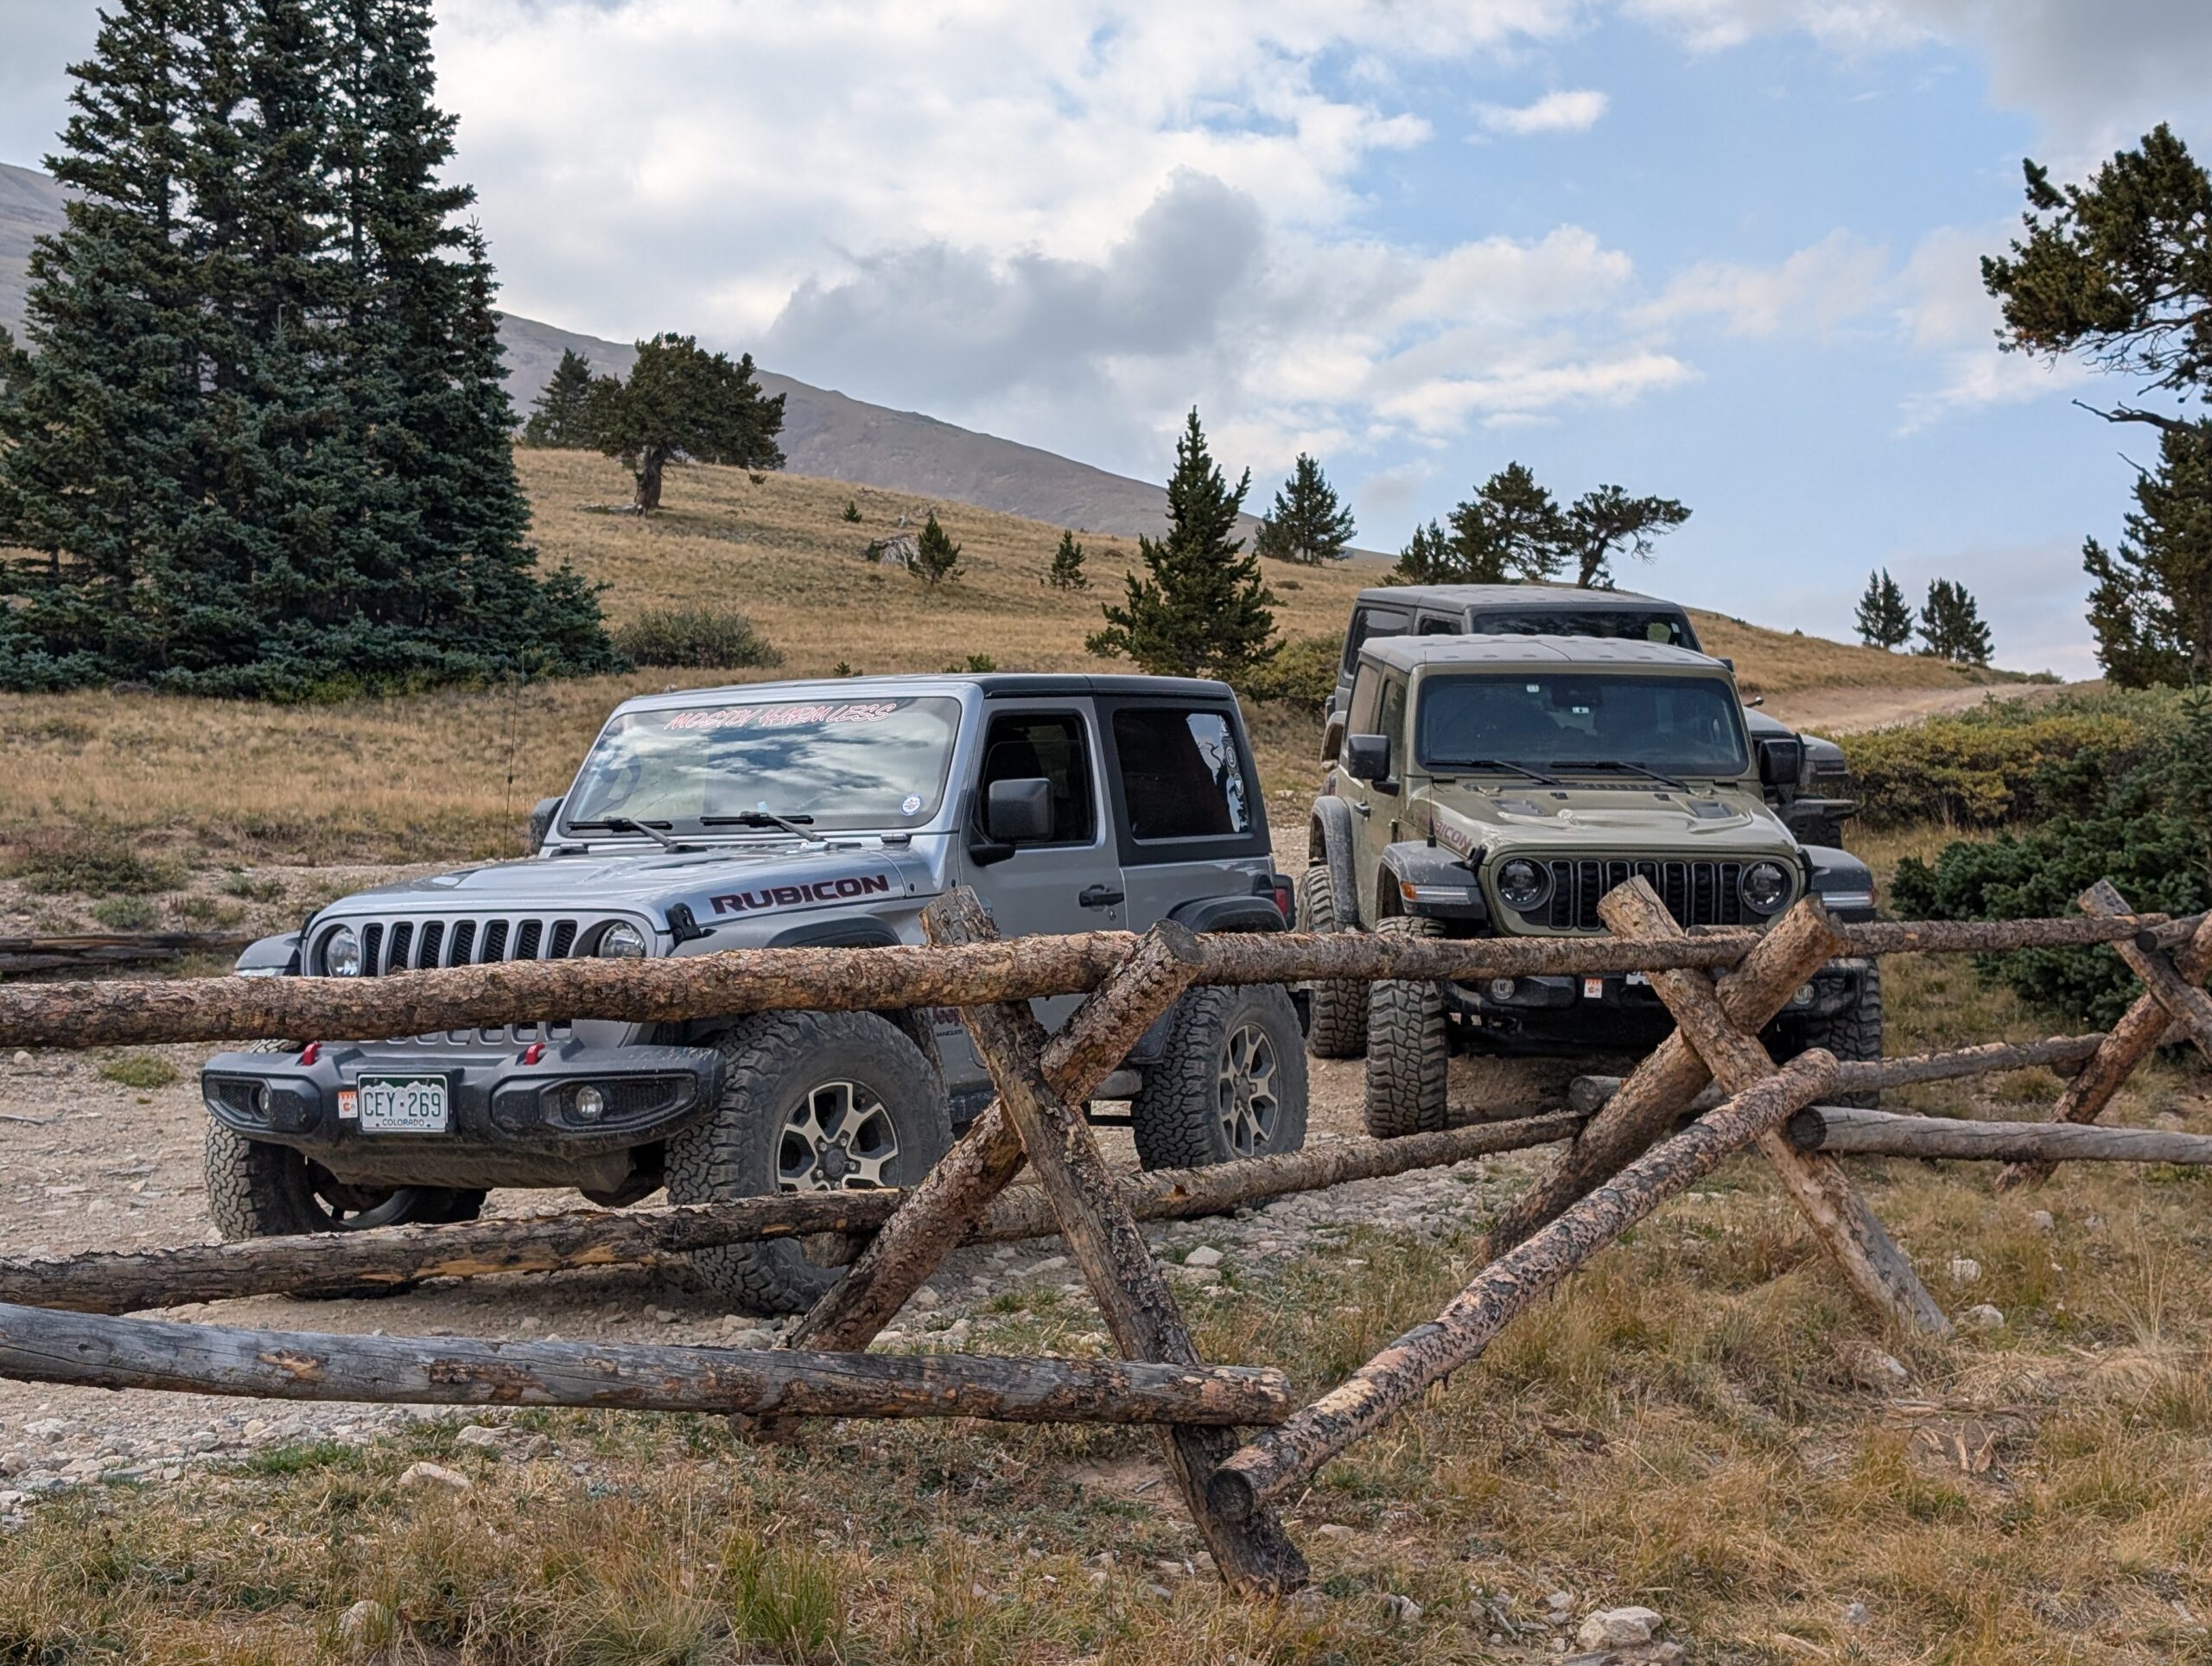
Last Sunday (2026-06-21) we ran Moody Hill and Old Flowers as part of a group ride: 2026-06-21 Moody Hill & Old Flowers
A bunch of the vehicles you see in the video played around on the obstacles at the quarry, but I was being careful on the first run. I did test it out a little on some smaller obstacles and engaged the lockers just to test things out. So far, everything is working great.
One thought on “1997 TJ Axle Swap Log”
Comments are closed.